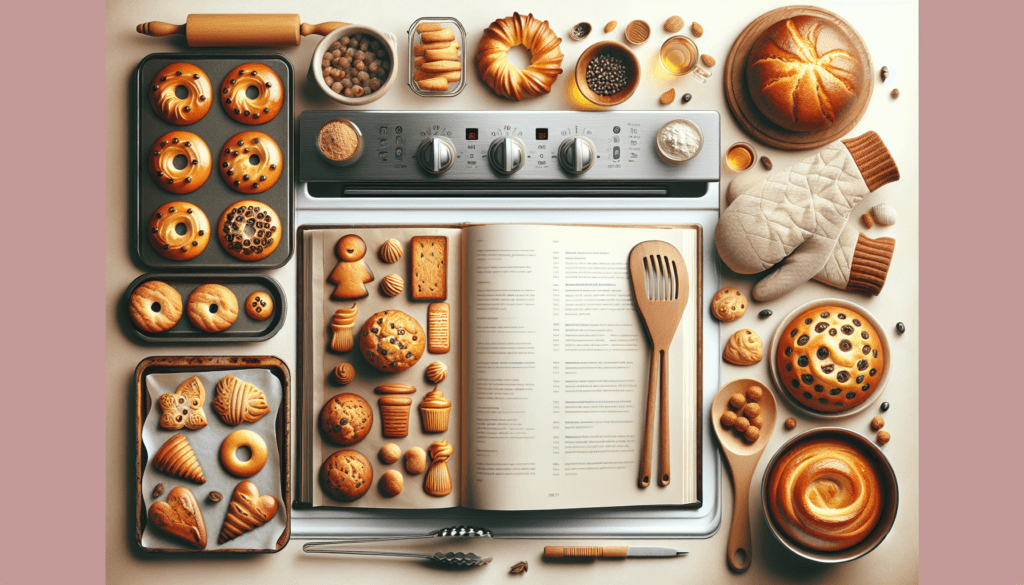
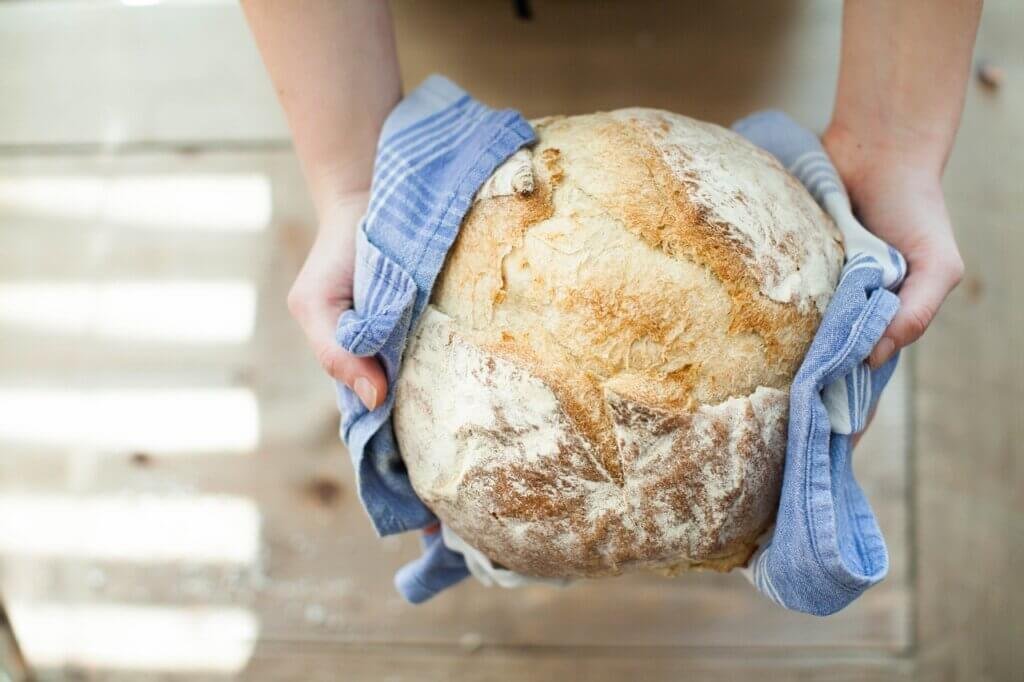
Imagine biting into a perfectly golden brown cookie, with its crispy exterior and soft, gooey center. Or savoring a slice of bread with a beautifully caramelized crust. Achieving that perfect golden brown color on your baked goods may seem like a mysterious art, but with a few simple tips and tricks, you can achieve it every time. In this article, we will explore the secrets behind achieving that delightful golden hue on your homemade treats, whether it’s cookies, bread, or cakes. Say goodbye to pale and lackluster baked goods and say hello to a mouthwatering golden brown perfection!
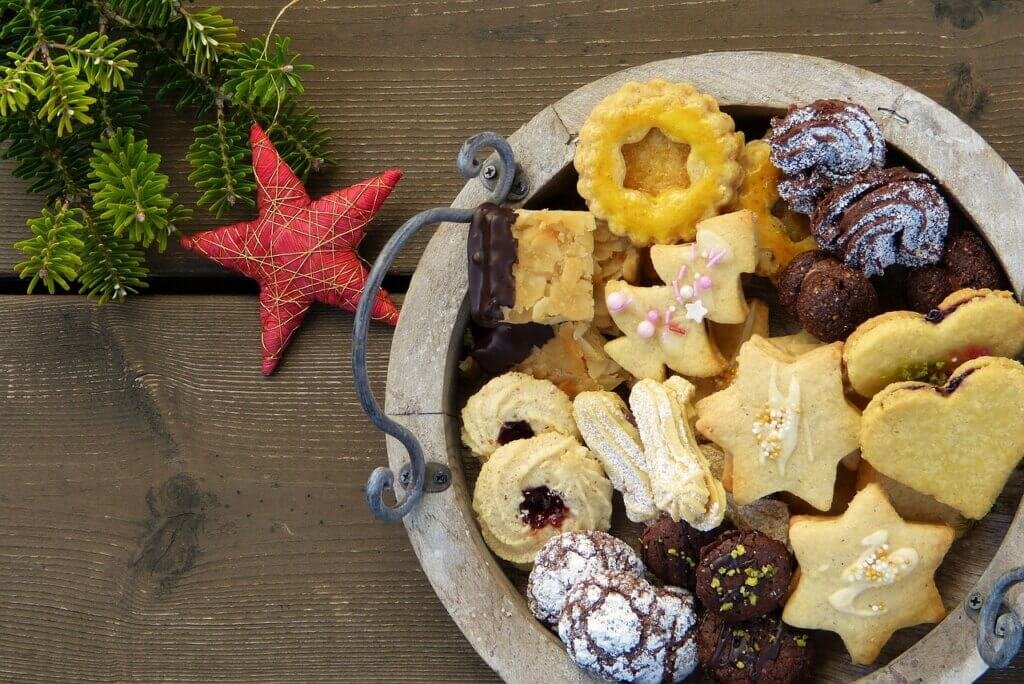
Choosing the Right Ingredients
Using High-Quality Flour
When it comes to baking, using high-quality flour is essential for achieving perfectly golden brown baked goods. Flour acts as the foundation of your recipe, providing structure and texture to your creations. Opt for a flour that is labeled as “all-purpose” or “plain” flour, as these types are versatile and can be used in a variety of baked goods. Look for a flour brand that is known for its quality and consistency. Avoid using flour that is nearing its expiration date, as it may have lost its potency.
Using Unsalted Butter
Butter adds richness and flavor to baked goods, and using unsalted butter is preferred in most recipes. Unsalted butter allows you to control the salt content in your baked goods, which is especially important if you’re using salt in the recipe. Additionally, using unsalted butter ensures that your baked goods won’t taste overly salty. Ensure your butter is at room temperature before using it in your recipe for easier mixing and better incorporation.
Using Fresh Eggs
Eggs are a crucial ingredient in baking, providing structure, moisture, and richness to your baked goods. It’s important to use fresh eggs to achieve the best results. Fresh eggs have a tighter protein structure, which helps with leavening and binding. When selecting eggs, check the expiration date and ensure that there are no cracks or abnormalities in the shell. If possible, use eggs that are at room temperature, as they incorporate better into your batter.
Using the Right Sugar
Sugar not only adds sweetness but also helps with browning and flavor development in baked goods. Choose the right type of sugar for your specific recipe. Granulated sugar is the most common type and works well in most recipes. Brown sugar adds moisture and a caramel-like flavor to your baked goods. Powdered sugar is best for frosting and dusting as it dissolves easily. Be sure to measure your sugar accurately for consistent results.
Using a Good Quality Baking Powder
Baking powder is a leavening agent that helps your baked goods rise and achieve a light and fluffy texture. It’s important to use a good quality baking powder to ensure consistent results. Check the expiration date on your baking powder container, as expired baking powder can affect the rising capabilities of your baked goods. If you’re unsure about the freshness of your baking powder, it’s best to replace it for optimal results.
Using Vanilla Extract
Vanilla extract adds a delightful flavor to your baked goods and is an ingredient used in many recipes. Opt for pure vanilla extract for the best flavor. While imitation vanilla extract is more affordable, it may not have the same depth of flavor as the pure variety. Add vanilla extract according to the recipe’s instructions, as adding too much can overpower the other flavors in your baked goods.
Understanding the Science of Baking
Understanding the Role of Fats
Fats, such as butter or oil, play a crucial role in baking. They contribute to the texture, moisture, and flavor of your baked goods. Fats help trap air bubbles, resulting in a tender and fluffy texture. They also help with browning and provide richness to the overall taste. Understanding the role of fats in your recipe will help you determine the correct amount and type of fat to use.
Understanding the Role of Sugar
Sugar not only adds sweetness but also aids in the browning process. When baked goods are exposed to high heat, the sugar caramelizes, resulting in a golden-brown color and delicious flavor. Additionally, sugar contributes to the tenderness and moistness of your baked goods. Understanding the role of sugar will help you adjust the amount to achieve the desired level of sweetness and browning.
Understanding the Role of Eggs
Eggs are a crucial ingredient in baking, providing structure, moisture, and richness to your creations. They act as a binder, holding everything together, and contribute to the overall texture. Eggs also help with leavening, adding airiness and lightness to your baked goods. Understanding the role of eggs in your recipe will help you determine the correct number of eggs and whether to use the entire egg or only the yolks or whites.
Understanding the Role of Flour
Flour is the backbone of your baked goods, providing structure and texture. Understanding the role of flour will help you choose the right type and amount for your recipe. Different flours have varying protein content, which affects the gluten formation. Gluten gives baked goods their structure and chewiness. All-purpose flour is a versatile option that works well in most recipes, but consider using specialty flours for specific baked goods.
Understanding the Role of Leavening Agents
Leavening agents, such as baking powder and baking soda, are responsible for the rise in your baked goods. They release carbon dioxide gas when combined with moisture and heat, which creates air pockets and causes the batter or dough to expand. Understanding the role of leavening agents will help you determine the correct amount and type to use, ensuring that your baked goods rise properly.
Proper Mixing Techniques
Creaming Method
The creaming method is commonly used when making cakes, cookies, and other baked goods that require a light and tender texture. It involves beating the fat and sugar together until light and fluffy, creating air pockets in the mixture. This method helps incorporate air into the batter, resulting in a soft and delicate crumb.
Blending Method
The blending method is often used when making muffins, quick breads, and pancakes. It involves combining the dry ingredients and wet ingredients separately and then mixing them together until just combined. This method ensures that the ingredients are evenly distributed without overmixing, resulting in a tender and moist final product.
Folding Method
The folding method is used when adding delicate ingredients, such as whipped egg whites or whipped cream, to a batter or dough. It involves gently combining the ingredients by using a spatula or a whisk in a folding motion. This method helps retain the airiness of the whipped ingredients while ensuring even distribution throughout the mixture.
Whisking Method
The whisking method is commonly used when making meringues or whipped creams. It involves vigorously whisking the ingredients, typically eggs or cream, until they reach the desired consistency. This method incorporates air into the mixture, resulting in a light and fluffy texture.
Beating Method
The beating method is often used when making bread dough or sturdy cake batters. It involves vigorously beating the ingredients together using a mixer or by hand. This method helps develop gluten, which provides structure and elasticity to the final product.
Using the Correct Baking Temperature
Preheating the Oven
Preheating the oven is an important step to ensure that your baked goods cook evenly. It allows the oven to reach the desired temperature before placing your batter or dough inside. Most recipes will specify the required preheating temperature, so it’s essential to follow the instructions closely.
Using an Oven Thermometer
Oven temperatures can sometimes vary from the temperature displayed on the oven’s control panel. To ensure the accuracy of the temperature, it’s helpful to use an oven thermometer. This tool allows you to monitor the actual temperature inside the oven, ensuring that your baked goods are baked at the correct temperature.
Adjusting the Temperature
Depending on your oven’s performance, you may need to make adjustments to the recommended temperature in the recipe. If you find that your baked goods are consistently over-browning or under-baking, you can try increasing or decreasing the temperature by a few degrees. It may require some trial and error to find the optimal temperature for your specific oven.
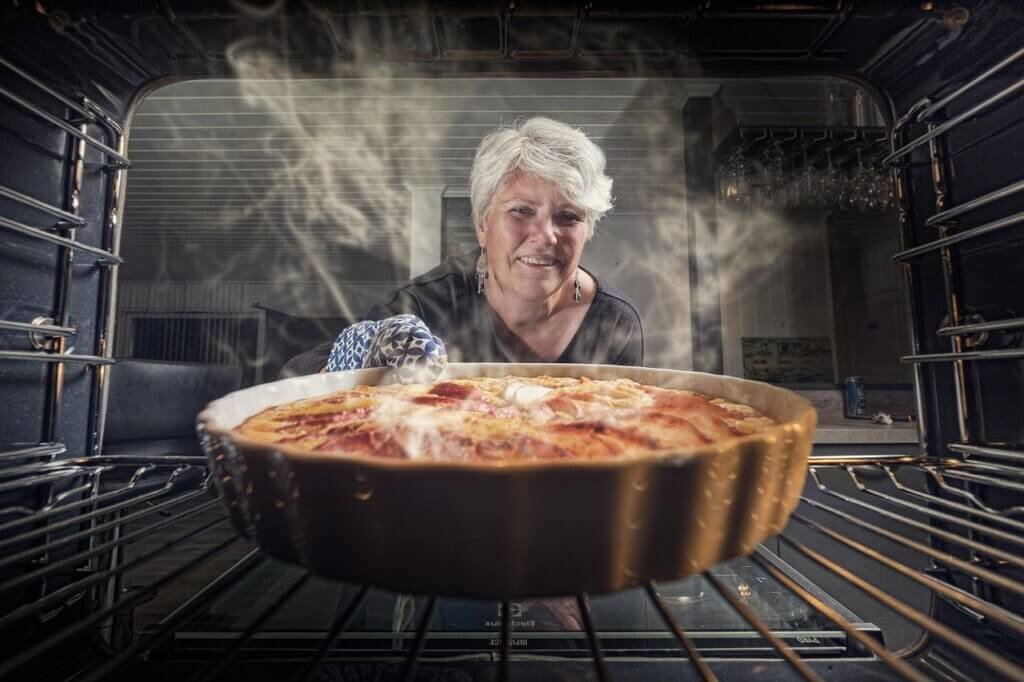
Choosing the Right Baking Pan
Using a Light-Colored Pan
Using a light-colored baking pan helps promote even browning of your baked goods. Light-colored pans reflect heat, resulting in a more consistent distribution of heat throughout the batter or dough. This helps prevent over-browning on the bottom or edges of your baked goods.
Using a Metal Pan
Metal pans are a popular choice for baking due to their excellent heat conduction. They distribute heat evenly, resulting in even browning and consistent cooking throughout your baked goods. Metal pans are often preferred for cookies, cakes, and bread.
Using a Glass Pan
Glass pans are known for their slow and even heat distribution. They are a good choice for delicate baked goods that require gentle and consistent baking. However, it’s important to note that glass pans retain heat longer, so your baked goods may continue cooking even after you remove them from the oven.
Using a Non-Stick Pan
Non-stick pans are a convenient option, especially when dealing with sticky batters or delicate baked goods. They prevent sticking, making it easier to remove your baked goods from the pan without damaging their appearance. However, it’s important to use non-stick pans according to the manufacturer’s instructions and avoid using sharp utensils that could scratch the non-stick coating.
Using the Right Size Pan
Using the correct size pan is crucial for achieving perfectly baked goods. The size of the pan affects the baking time and can result in under- or overcooked baked goods. If a recipe specifies a specific pan size, it’s important to follow that guidance. However, if you need to make adjustments to the pan size, you may need to adjust the baking time accordingly.
Understanding Oven Placement
Avoiding Overcrowding
When baking multiple items at once, it’s important to avoid overcrowding your oven. Overcrowding can restrict the flow of air, resulting in uneven baking and inconsistent browning. Ensure that there is enough space between your baked goods for proper air circulation.
Using the Middle Rack
The middle rack is often the best position for baking. It allows for even heat distribution, resulting in consistent browning and cooking. Placing your baked goods in the middle of the oven helps them bake more evenly and reduces the risk of over- or undercooking.
Using the Bottom Rack for Extra Browning
If you prefer an extra browning effect on the bottom of your baked goods, you can place them on the bottom rack. The lower position allows for increased heat exposure from the oven’s bottom element, resulting in a darker and crispier bottom crust.
Avoiding Direct Heat
Avoid placing your baked goods directly under the broiler or in direct contact with heating elements. Direct heat can cause your baked goods to brown too quickly or burn. If your recipe requires a significant amount of top browning, you can move your baked goods to the top rack during the final minutes of baking.
Using Proper Baking Techniques
Rotating the Baking Pan
To ensure even browning, it’s a good practice to rotate your baking pan halfway through the baking time. This helps account for any hot spots in your oven and promotes uniform browning on all sides of your baked goods.
Using Parchment Paper or Silicone Baking Mats
Using parchment paper or silicone baking mats helps prevent sticking and promotes even baking. Line your baking pan with parchment paper or a silicone baking mat before placing your batter or dough. This not only makes it easier to remove your baked goods but also helps achieve a more consistent golden-brown color.
Avoiding Opening the Oven Door Too Often
Opening the oven door too frequently during baking can cause temperature fluctuations, affecting the overall baking process. It’s best to resist the temptation to peek until your baked goods are nearing the end of the recommended baking time. Excessive opening of the oven door can result in uneven browning and potential deflation of delicate baked goods.
Testing for Doneness
To ensure that your baked goods are perfectly cooked, it’s important to test for doneness using the appropriate method. Common methods include inserting a toothpick or a cake tester into the center of the baked goods. If it comes out clean or with a few moist crumbs attached, your baked goods are likely done. However, each recipe may have specific indicators for doneness, so it’s essential to follow the instructions provided.
Allowing Proper Cooling Time
After removing your baked goods from the oven, it’s important to allow them to cool properly. Cooling allows the structure to set, making it easier to handle and reducing the risk of collapsing or breaking. Follow the recipe’s instructions for cooling time and transfer your baked goods to a wire rack. Proper cooling also helps develop the desired texture and flavor.
Enhancing Browning with Ingredients
Using an Egg Wash
Applying an egg wash to your baked goods can enhance their browning, creating a beautiful golden hue. Beat an egg with a small amount of water or milk, and brush it onto the surface of your pastry, bread, or pie crust before baking. The proteins in the egg contribute to the browning reaction, resulting in an inviting golden color.
Brushing with Milk or Cream
Brushing your baked goods with milk or cream can also help achieve a desirable golden-brown crust. The sugars and proteins in milk or cream contribute to the Maillard reaction, which occurs during baking and results in browning. Use a pastry brush to apply a thin layer of milk or cream to the surface of your baked goods before baking.
Sprinkling with Sugar
Sprinkling a layer of sugar on top of your baked goods before baking can create a caramelized crust and add sweetness. The sugar melts and caramelizes during baking, resulting in a beautiful golden color and a delightful crunch. This method works well on cookies, scones, and muffin tops.
Using a Sugar Glaze
A sugar glaze can add both shine and browning to your baked goods. Mix together powdered sugar and a small amount of liquid, such as milk or lemon juice, to create a glaze. Drizzle the glaze over your baked goods just before they finish baking, and allow it to set as they cool. The glaze enhances the flavors and creates an attractive, golden finish.
Using Honey or Maple Syrup
Honey or maple syrup can be used to enhance browning and add a subtle sweetness to your baked goods. The natural sugars in these ingredients caramelize during baking, resulting in a lovely golden-brown color. Brush a thin layer of honey or maple syrup onto your pastry, bread, or cake before baking for a delicious touch.
Finishing Touches for Perfect Browning
Broiling for Extra Browning
Broiling is a technique that can be used to achieve extra browning on the top of your baked goods. This method is particularly useful for dishes like casseroles, gratins, or bread. After your baked goods have finished baking, switch the oven to the broil setting and place them under the broiler for a few minutes. Keep a close eye on them to prevent burning.
Using a Kitchen Torch
A kitchen torch is a handy tool for adding precise and controlled browning to your baked goods. It can be used to torch the tops of desserts like crème brûlée or meringue pies for a perfectly golden finish. Hold the torch a few inches away from the surface and move it evenly to avoid scorching.
Dusting with Powdered Sugar
Dusting your baked goods with powdered sugar adds an elegant finishing touch to their appearance while also providing a hint of sweetness. Use a fine-mesh sieve or a sifter to evenly distribute the powdered sugar over your pastry, cake, or cookies. This method works well on desserts like cupcakes, brownies, and tarts.
Adding a Crunchy Topping
Adding a crunchy topping, such as streusel or nuts, can contribute to both texture and browning. Sprinkle your desired topping over the batter or dough before baking, and it will crisp up during the cooking process. This technique is commonly used for coffee cakes, muffins, and fruit crumbles.
Applying a Butter Wash
Applying a butter wash to the surface of your baked goods can result in a rich and glossy finish. Melt a small amount of butter and brush it onto the top of your pastry, bread, or croissants before baking. The butter helps seal in moisture and promotes browning, while also adding a delightful buttery flavor.
Storing Baked Goods
Allowing to Cool Completely
Before storing your freshly baked goods, it’s crucial to allow them to cool completely. This allows the moisture to distribute evenly and prevents excess moisture from getting trapped, which can lead to a soggy texture. Place your baked goods on a wire rack and let them cool for the recommended time before transferring them to a storage container.
Using Airtight Containers
To maintain the quality and freshness of your baked goods, store them in airtight containers. Airtight containers help prevent moisture and air from seeping in, which can lead to a loss of texture and flavor. Choose a container that fits your baked goods properly to avoid excess contact with the air.
Adding Moisture with Bread or Apple Slices
If you find that your baked goods are becoming dry, you can add some moisture to the storage container. Placing a slice of bread or a few apple slices in the container with your baked goods can help retain moisture and prevent them from drying out. Be sure to replace the bread or apple slices periodically as they become stale.
Reheating for a Fresh, Golden Crust
If you want to restore the golden-brown crust of your baked goods, reheating them can help. Place your baked goods in a preheated oven for a few minutes until they reach the desired temperature. This method helps revive the freshness and enhances the texture and flavor of your baked goods.
Freezing for Later Use
If you want to extend the shelf life of your baked goods, freezing is an excellent option. Allow your baked goods to cool completely before wrapping them tightly in plastic wrap or sealing them in a freezer bag. Label them with the date and store them in the freezer. When you’re ready to enjoy them, thaw them at room temperature or reheat them in the oven for a fresh, golden crust.
