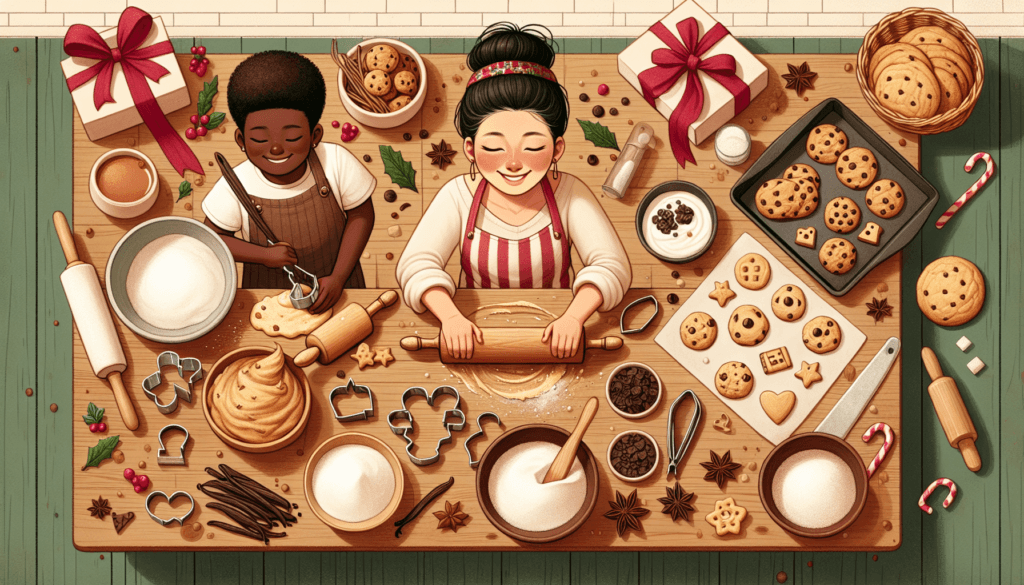
Ready to spread some sweet holiday cheer? Look no further than our foolproof guide to making the best homemade cookies for gifting. Whether you’re a baking novice or a seasoned pro, these delicious treats are sure to impress and bring a smile to your loved ones’ faces. From classic chocolate chip to festive gingerbread, we’ve got all the tips and tricks you need to create irresistible cookies that are perfect for sharing. So grab your apron, preheat your oven, and let’s get baking!

Ingredients
Flour
Flour is a key ingredient in cookies as it provides structure and texture. All-purpose flour is commonly used in cookie recipes, but you can also experiment with different types like whole wheat or almond flour for a unique flavor and texture.
Sugar
Sugar adds sweetness to your cookies and helps with browning and caramelization. Granulated sugar is the most common type used, but you can also use brown sugar or a combination of the two for a deeper flavor.
Butter
Butter adds richness and flavor to your cookies. Make sure to use unsalted butter so you can control the amount of salt in your recipe. It’s important to have the butter at room temperature for easier creaming with the sugar.
Eggs
Eggs act as a binding agent and add moisture to the dough. They also contribute to the structure and texture of the cookies. Make sure to use large eggs unless otherwise specified in the recipe.
Salt
Salt enhances the flavors in your cookies and balances out the sweetness. It also helps to activate the baking soda, so don’t skip this ingredient even if you’re trying to reduce sodium.
Baking Soda
Baking soda is a leavening agent that helps your cookies rise and spread. It reacts with acidity in your dough to create carbon dioxide bubbles, resulting in a light and tender texture.
Vanilla Extract
Vanilla extract adds a delicious aroma and flavor to your cookies. Use pure vanilla extract for the best results, and adjust the amount according to your preference.
Additional Flavoring
In addition to vanilla extract, you can experiment with other flavorings like almond extract, citrus zest, or spices such as cinnamon or nutmeg. These additional flavorings can elevate your cookies and make them truly unique.
Mix-ins
Mix-ins are what make your cookies special and add interesting textures and flavors. Chocolate chips, chopped nuts, dried fruits, or even candies are popular choices. Get creative and choose mix-ins that complement the flavors and textures of your cookies.
Equipment
Mixing Bowls
Having a variety of mixing bowls in different sizes is essential for cookie making. You’ll need them for various steps such as combining dry ingredients, creaming butter and sugar, and mixing in the rest of the ingredients.
Electric Mixer
An electric mixer, either a stand mixer or a handheld one, will make the process of creaming butter and sugar much easier and faster. It will help incorporate air into the mixture for a lighter texture.
Whisk or Fork
A whisk or fork is handy for blending dry ingredients together and breaking up any clumps. It also works well for lightly beating eggs before adding them to the dough.
Measuring Cups and Spoons
Accurate measurements are crucial in baking, so make sure you have measuring cups and spoons for both dry and liquid ingredients. Using a kitchen scale is even more precise if you have one available.
Spatula
A spatula is useful for scraping down the sides of the mixing bowl and for folding in delicate mix-ins without overmixing the dough.
Baking Sheets
Baking sheets, also known as cookie sheets, are necessary for baking your cookies. Look for ones with a non-stick surface for easy release and cleanup.
Parchment Paper
Using parchment paper on your baking sheets prevents the cookies from sticking and makes cleanup a breeze. It also helps with even browning and reduces the risk of over-browning.
Cookie Cutters
If you’re making shaped or cut-out cookies, having a selection of cookie cutters in different shapes and sizes is essential. They allow you to create fun and festive cookies for any occasion.
Cooling Rack
A cooling rack is used to cool your cookies after baking. It allows air to circulate around the cookies, preventing them from becoming soggy and helping them cool down faster.

Choosing the Right Recipe
Consider the Occasion
When choosing a cookie recipe, consider the occasion or purpose for which you’ll be making them. Are you baking cookies for a holiday gathering, a birthday party, or as a gift? Different occasions may call for different types of cookies – from classic chocolate chip cookies to more elaborate decorated ones.
Account for Dietary Restrictions
If you or the recipient of the cookies have any dietary restrictions or preferences, it’s important to choose a recipe that accommodates those needs. There are plenty of cookie recipes available that are gluten-free, dairy-free, vegan, or nut-free.
Cookie Varieties and Complexity
Consider the type of cookie you want to make – do you prefer soft and chewy or crispy and crunchy cookies? Different recipes will yield different textures and flavors. You should also consider the complexity of the recipe and choose one that matches your skill level and available time.
Preparation
Gather Ingredients
Before starting the cookie-making process, make sure you have all the ingredients on hand. Take the time to gather and measure them accurately, as this will ensure a smooth and efficient baking experience.
Measure Ingredients Accurately
Accurate measurements are crucial in baking, so use measuring cups and spoons for both dry and liquid ingredients. Level off the ingredients with a straight edge to get the precise amount called for in the recipe.
Prepare the Mixing Bowls
Make sure your mixing bowls are clean and dry before using them. You may need multiple bowls depending on the steps involved in your recipe, so have them ready and easily accessible.
Preheat the Oven
Preheat your oven to the temperature indicated in your recipe. This is an essential step to ensure even and consistent baking. It allows the cookies to cook properly and ensures they don’t spread too much while baking.
Line Baking Sheets
Line your baking sheets with parchment paper for easy cleanup and to prevent the cookies from sticking. If you don’t have parchment paper, you can lightly grease the baking sheets instead.
Prepare Cookie Cutters
If you’ll be using cookie cutters to shape your cookies, make sure they are clean and ready for use. You can lightly dust them with flour to prevent sticking if needed.
Organize Workstation
Before you start mixing the dough, organize your workstation. Having all your ingredients nearby, as well as the necessary utensils and equipment, will make the process much smoother and more enjoyable.

Mixing the Dough
Creaming the Butter and Sugar
To achieve light and fluffy cookies, cream the room temperature butter and sugar together until well combined and creamy. This step incorporates air into the mixture, resulting in a tender texture.
Adding the Eggs
Beat the eggs lightly in a separate bowl before adding them to the dough. Add them gradually, beating well after each addition. This ensures they are fully incorporated and helps prevent curdling.
Incorporating Dry Ingredients
Combine the dry ingredients, such as flour, salt, and baking soda, in a separate bowl. Gradually add the dry ingredients to the creamed mixture, mixing just until the ingredients are incorporated. Overmixing can result in tough cookies, so be careful not to overdo it.
Adding Flavorings and Mix-ins
Once the dough is well mixed, add in your desired flavorings, such as vanilla extract or spices, and mix until evenly distributed. Then, gently fold in any mix-ins, such as chocolate chips or nuts, to add texture and flavor to your cookies.
Chilling the Dough
Why Chilling is Important
Chilling the cookie dough is an important step that should not be skipped. It allows the dough to firm up, preventing excessive spreading while baking. Chilled dough also enhances flavor development and improves the texture of the cookies.
Methods for Chilling
There are two common methods for chilling cookie dough: refrigerating or freezing. Refrigerating the dough typically takes 1-2 hours, while freezing can take up to 30 minutes. Choose the method that best fits your schedule and the recipe instructions.
Chilling Time
The recommended chilling time will vary depending on the recipe. Some recipes require shorter chilling times, while others benefit from longer chilling periods for enhanced flavor and texture. Follow the recipe instructions for the best results.

Shaping and Baking
Rolling and Cutting Dough
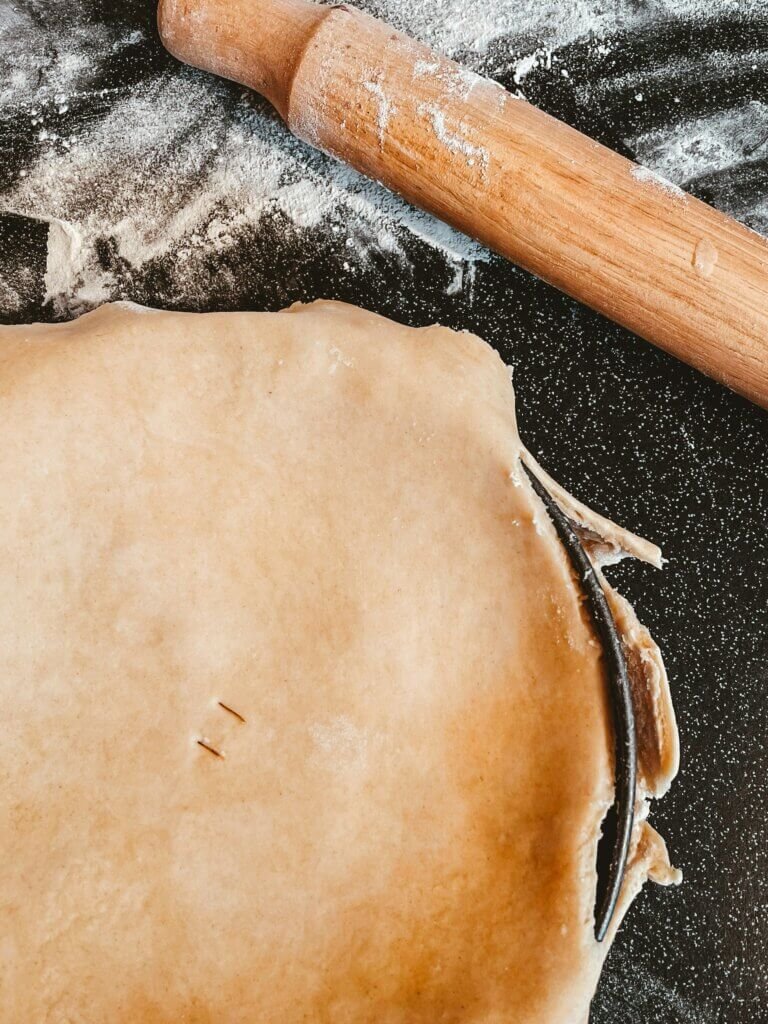
For cut-out cookies, lightly flour a clean surface and roll out the chilled dough to your desired thickness. Use cookie cutters to cut out shapes and transfer them onto the prepared baking sheets, leaving enough space between each cookie.
Forming Cookies by Hand
For drop cookies, use a spoon or cookie scoop to portion out the chilled dough onto the prepared baking sheets. To ensure even baking and consistent size, try to make each portion of dough about the same size.
Baking Time and Temperature
Refer to the recipe for the recommended baking time and temperature. Every cookie recipe is different, and these factors can greatly influence the final outcome. Keep a close eye on the cookies as they bake, as baking times can vary depending on your oven.
Rotating Baking Sheets
To ensure even browning, rotate the baking sheets halfway through the baking time. This helps prevent any hot spots in the oven from causing unevenly baked cookies.
Using a Cooling Rack
Once the cookies are done baking, transfer them to a cooling rack to cool completely. This helps them set and prevents them from becoming soggy. Allow the cookies to cool completely before storing or packaging.
Troubleshooting
Over-spreading
If your cookies spread too much while baking, there could be a few reasons. One common cause is dough that is too warm or under-chilled. Make sure to chill the dough adequately before baking. Over-creaming the butter and sugar can also result in excessive spreading, so be mindful of the creaming process.
Flat Cookies
Flat cookies can be the result of using old baking powder or baking soda that has lost its leavening power. Make sure to check the expiration dates of these ingredients. Additionally, overmixing the dough can result in flat cookies, so mix until just combined.
Dry or Crumbly Cookies
Dry or crumbly cookies can indicate that the dough has been overbaked. Adjust the baking time to prevent excess drying. If your cookies still turn out dry, you may need to increase the moisture content by adding a little more butter or a tablespoon of liquid like milk.
Underbaked or Overbaked
Underbaked cookies will be pale and doughy in the center, while overbaked cookies will be dark around the edges. To achieve the perfect doneness, monitor the cookies closely towards the end of the baking time and remove them from the oven when they are lightly golden brown.
Bitter or Burnt Taste
A bitter or burnt taste can result from overbaked cookies or if the oven temperature is too high. Make sure to follow the recommended baking temperature and time, and adjust it if needed for your particular oven.

Packaging and Presentation
Choosing Packaging Materials
When it comes to packaging your homemade cookies, there are various options to choose from. Consider using airtight containers, cookie tins, cellophane bags, or even decorative boxes. Choose packaging materials that will keep your cookies fresh and protect them during transit.
Wrapping Options
To keep your cookies fresh and maintain their quality, individually wrapping them can be a great idea. You can use wax paper, plastic wrap, or parchment paper to wrap each cookie before placing them in the chosen packaging.
Decorating and Personalizing
To add an extra touch to your homemade cookies, consider decorating and personalizing them. You can use icing, sprinkles, or edible markers to create designs or messages on the cookies. Get creative and have fun!
Gift Tag Ideas
To make your cookie gifts even more special, attach a personalized gift tag. You could include a holiday greeting, a heartfelt message, or even the recipe for the cookies. This adds a personal touch and shows the recipient that you put thought and effort into their gift.
Conclusion
Making homemade cookies for gifting is a delightful and rewarding endeavor. By following the right recipe, selecting quality ingredients, and using the appropriate equipment, you can create the best homemade cookies that will impress your loved ones. Whether you’re baking for a special occasion or just want to bring joy to someone’s day, these tips and techniques will help you master the art of cookie making. Get creative with flavors, shapes, and decorations, and don’t forget to package your cookies with care. Happy baking!


