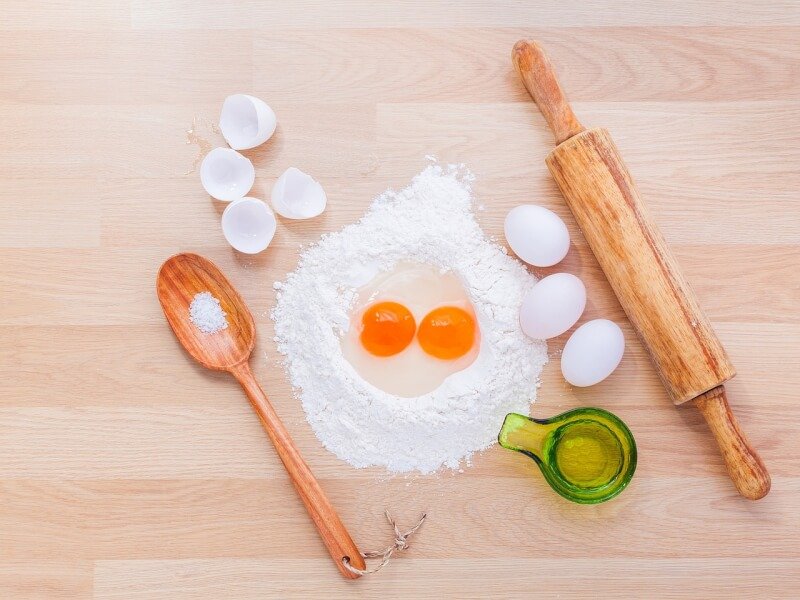
Have you ever dreamed of creating your own fresh, delicious bread right in the comfort of your own kitchen? Look no further – this Beginner’s Guide to Baking Bread at Home is the perfect starting point for anyone eager to embark on their bread-making journey. Whether you’re a complete novice or have some baking experience, this guide will provide you with all the essential tips and tricks to help you create your very own homemade bread from scratch. From selecting the ingredients to mastering the perfect dough, get ready to unleash your inner baker and enjoy the delightful aroma and taste of freshly baked bread in your own home.
Choosing the Right Recipe
Making homemade bread can be a rewarding and fulfilling experience. But before you embark on this delicious journey, it’s essential to choose the right bread recipe that suits your taste preferences and skill level. Let’s explore the different types of bread recipes available and find the perfect one for you.
Types of bread recipes to consider
There is a myriad of bread recipes to choose from, each yielding a unique texture, flavor, and aroma. Some popular types of bread recipes include:
- Classic white bread: This is a versatile bread with a light and fluffy texture, perfect for sandwiches and toasting.
- Whole wheat and multigrain options: These recipes incorporate whole grains for added nutrition and a heartier flavor.
- Sourdough bread: Made using a naturally fermented starter, sourdough bread has a tangy flavor and a chewy texture.
- Sweet breads and enriched doughs: These recipes include ingredients like sugar, butter, and eggs, resulting in a soft and indulgent loaf.
- Gluten-free alternatives: For those with gluten sensitivities or preferences, there are a variety of gluten-free bread recipes available.
Consider your personal tastes and dietary requirements when selecting a bread recipe. Don’t be afraid to experiment and try new flavors!
Finding a recipe that suits your skill level
As a beginner, it’s essential to choose a bread recipe that matches your current skill level. Some recipes require more advanced techniques and experience, while others are beginner-friendly. Look for recipes labeled “beginner” or “easy” to get started.
It’s also helpful to read through the recipe instructions before you begin to understand the techniques involved. Look for recipes with detailed step-by-step instructions and helpful tips for first-time bread makers. With practice and experience, you can gradually move on to more complex recipes.
Gathering the necessary ingredients
Once you’ve chosen a bread recipe, it’s time to gather all the necessary ingredients. The key ingredients for most bread recipes include flour, water, yeast, and salt. However, there are variations depending on the type of bread you’re making.
Understanding the bread-making process
Before jumping into the bread-making process, it’s beneficial to understand the basics of how bread is made. Bread-making involves a series of steps, including mixing the ingredients, kneading the dough, allowing it to rise, shaping the loaf, and finally baking it to perfection.
Each step plays a crucial role in the final outcome of your bread. Learning about the science behind these processes will help you understand why certain techniques and ingredients are used.
Gathering the Equipment
To embark on your bread-making adventure, you’ll need a few essential tools and equipment. These items will make your baking experience smoother and more enjoyable.
Essential tools for baking bread
- Measuring cups and spoons: Accurate measurements are crucial in baking, and having a set of measuring cups and spoons will ensure consistent results.
- Mixing bowls: You’ll need bowls of different sizes to mix your dough and allow it to rise.
- Bench scraper or dough scraper: This tool is handy for dividing and shaping the dough, as well as cleaning your work surface.
- Bread pans or baking sheets: Depending on the type of bread you’re making, you’ll need pans or baking sheets to shape and bake your loaves.
- Oven thermometer: An oven thermometer will help ensure that your oven is at the correct temperature for baking.
Optional equipment to enhance your bread-making experience
While not essential, these additional tools can elevate your bread-making experience:
- Stand mixer or bread machine: These appliances can streamline the mixing and kneading process, saving you time and effort.
- Dough proofing basket: Also known as a banneton, this basket helps shape the dough and create beautiful patterns on the crust.
- Dutch oven or baking stone: Using a Dutch oven or baking stone can create a professional-level crusty bread with excellent oven spring.
- Lame or sharp knife: Perfect for scoring the dough, a lame or sharp knife creates beautiful patterns on the loaf’s surface and allows it to expand during baking.
While it’s possible to make homemade bread with just the essentials, these optional tools can enhance your bread-making skills and results. Choose the tools that align with your baking goals and budget.

Understanding the Ingredients
To become a bread-making master, it’s crucial to understand the role of each ingredient in the bread-making process. Let’s explore the different ingredients used in bread recipes and their significance.
Types of flour and their usage in bread making
Flour is the backbone of any bread recipe, providing structure and texture. There are several types of flour to consider, each with its own characteristics:
- All-purpose flour: This versatile flour is suitable for most bread recipes and strikes a balance between protein content and gluten development.
- Bread flour: With a higher protein content than all-purpose flour, bread flour is ideal for yeast-based bread recipes, as it creates a stronger gluten network.
- Whole wheat flour: Made from the entire wheat grain, whole wheat flour adds nutritional value and a slightly denser texture to your bread.
- Rye flour: Known for its robust and earthy flavor, rye flour is commonly used in traditional and artisan bread recipes.
Understanding the characteristics of different flours will help you choose the right one for your desired bread texture and flavor.
Other essential ingredients and their role in bread
Aside from flour, there are a few other key ingredients that contribute to the flavor, texture, and structure of bread:
- Water: Provides hydration and activates the yeast for fermentation.
- Yeast: A microorganism that ferments the sugars in the dough, creating carbon dioxide and causing the bread to rise.
- Salt: Enhances flavor and helps control the fermentation process by regulating the activity of the yeast.
- Sugar: Feeds the yeast and adds sweetness to the bread. It also aids in browning during baking.
- Fats: Ingredients like butter, oil, or lard add richness and moisture to the bread. They can also influence the texture of the final product.
Balancing these ingredients is crucial to achieving the desired taste and texture in your homemade bread.
Different types of yeast and how to use them
Yeast is a crucial ingredient in bread-making, as it’s responsible for the leavening and rising of the dough. There are three main types of yeast used in bread recipes:
- Active dry yeast: This type of yeast needs to be dissolved in warm water before adding it to the dough. It requires proofing, a process that activates its fermentation.
- Instant yeast: Also known as rapid-rise yeast, this type can be added directly to the dry ingredients without proofing. It dissolves quickly and starts fermenting rapidly.
- Fresh yeast: Commonly used in professional bakeries, fresh yeast has a higher water content and should be crumbled or dissolved before use.
Different types of yeast require different handling and proofing methods, so be sure to read the instructions on the yeast package and follow the recipe guidelines.
Mastering the Bread-Making Techniques
Now that you have the necessary knowledge and equipment, it’s time to dive into the bread-making techniques that will set you on the path to success.
Understanding the importance of proper measurements
Accurate measurements are crucial in baking, as slight variations can significantly affect the texture and taste of your bread. When measuring ingredients, use measuring cups and spoons specifically designed for baking, as they provide standardized measurements.
For flour, the correct method is to lightly scoop it into the measuring cup and level it off with a flat edge. Avoid packing the flour tightly, as it can lead to denser bread.
Different mixing methods and their effects on bread texture
The mixing method you choose influences the final texture of your bread. Here are two common mixing methods:
- Traditional hand-kneading: This method involves manually kneading the dough on a clean, floured surface. It develops gluten and creates a tight and elastic crumb structure.
- Stand mixer or bread machine: Using a stand mixer with a dough hook attachment or a bread machine with a dough cycle can save time and effort. These machines mix and knead the dough for you, providing consistent results.
Both methods can yield excellent bread, so choose the one that suits your preferences and available equipment.
Kneading techniques for developing gluten
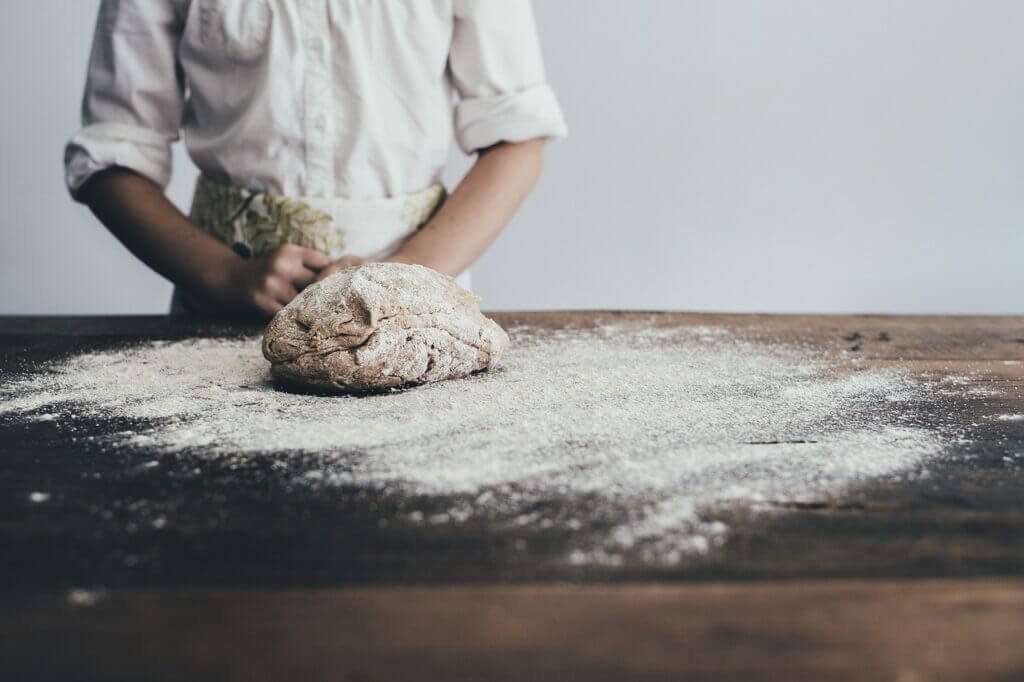
Kneading is a crucial step in bread-making as it develops the gluten in the dough, providing structure and elasticity. Here are the basic steps for kneading dough:
- Step 1: Use the heel of your hand to push the dough away from you.
- Step 2: Fold the dough in half towards you.
- Step 3: Rotate the dough a quarter turn clockwise and repeat steps 1 and 2.
Repeat this process for the recommended duration mentioned in your recipe. It usually takes around 8-10 minutes of kneading to achieve the desired gluten development.
The art of proofing and how to achieve the best results
Proofing, also known as fermentation, is the process where the dough rises and develops flavor. Follow these tips for successful proofing:
- Choose a warm environment: Yeast thrives in warm temperatures, usually between 75°F to 85°F (24°C to 29°C). Find a draft-free spot in your kitchen, like near a preheating oven or on top of the refrigerator.
- Cover the dough: Use a lightly greased plastic wrap or a damp kitchen towel to cover the dough during proofing. This prevents the surface from drying out and forming a crust.
- Check for the dough’s rising progress: The dough should roughly double in size during proofing. The time it takes can vary depending on room temperature, the recipe, and the type of yeast used.
Be patient during the proofing process – rushing it may result in underdeveloped flavor and a dense texture.
Different shaping techniques and their impact on the final loaf
Shaping the dough not only gives your bread an appealing appearance but also affects the final texture. Here are a few shaping techniques to try:
- Loaf shape: After the dough has risen, gently deflate it and shape it into a rectangle. Roll it tightly and pinch the seam to seal, then place it seam-side down in a greased loaf pan.
- Round shape: Divide the dough into equal portions and roll each portion into a smooth ball. Place the balls on a baking sheet with enough space between them for expansion during baking.
- Boule shape: Flatten the dough into a disk, then fold the edges into the center to create a ball shape.
- Batard shape: Similar to a loaf shape, but with slightly pointed ends. After rolling the dough tightly, taper the ends by gently pulling and pinching.
Different shapes create distinct appearances and can affect the way the bread expands during baking. Experiment with different shaping techniques to find the one that suits your preferences.
Exploring Bread Varieties
Now that you’ve mastered the basics, it’s time to explore the wide world of bread varieties. Here are some popular types of bread to try:
Classic white bread
A staple in many homes, classic white bread is perfect for sandwiches and toast. It has a soft and fluffy texture that pairs well with a variety of spreads and fillings. Experiment with different ratios of all-purpose flour and bread flour to achieve the desired texture.
Whole wheat and multigrain options
For those seeking a heartier and more nutritious loaf, whole wheat and multigrain bread are excellent choices. These bread varieties incorporate whole grains like wheat, oats, or seeds, adding fiber, nutrients, and a distinct flavor.
Sourdough bread and its unique qualities
Sourdough bread is well-known for its tangy flavor and chewy texture. It’s made using a naturally fermented starter, which adds complexity and depth to the bread’s taste. Sourdough bread requires longer proofing times and a well-maintained starter, but the results are worth the effort.
Sweet breads and enriched doughs
Indulge your sweet tooth with bread that’s perfect for breakfast or dessert. Sweet breads are enriched with ingredients like sugar, butter, or eggs, resulting in a soft and tender crumb. Cinnamon rolls and brioche bread are popular examples of sweet breads.
Gluten-free alternatives
If you follow a gluten-free diet, don’t worry! There are plenty of gluten-free bread recipes available. These recipes typically use alternative flours like rice flour, almond flour, or tapioca flour. Experiment with different combinations to find the perfect gluten-free loaf.
Don’t limit yourself to just one bread variety. Explore different recipes and discover your favorites. Each bread type offers a unique taste and experience.
Troubleshooting Common Issues
Even the most experienced bread bakers encounter challenges along the way. Here are solutions to common bread-making issues:
Understanding common problems in bread-making
- Dense bread: Dense bread can be caused by various factors, such as not kneading the dough enough, using too little yeast, or using an excessive amount of heavy ingredients.
- Over-risen dough: Over-risen dough can result in a collapsed or misshapen loaf. It may be caused by allowing the dough to proof for too long or using too much yeast.
- Under-risen dough: Under-risen dough often leads to a dense and heavy loaf. It can occur when the dough doesn’t have enough time to proof or when the yeast is not active enough.
- Burnt or overly crusty bread: This issue is typically due to baking at too high a temperature or leaving the bread in the oven for too long.
Identifying causes and finding solutions
- Dense bread: Ensure that you knead the dough sufficiently to develop gluten. Use the recommended amounts of yeast and ingredients, and avoid overmixing or adding too many heavy ingredients.
- Over-risen dough: Keep a close eye on the dough during proofing and follow the recommended proofing times. Adjust the room temperature if necessary to slow down the rising process.
- Under-risen dough: Allow enough time for the dough to proof and rise properly. Check that your yeast is fresh and active, as expired or old yeast may not ferment the dough effectively.
- Burnt or overly crusty bread: Preheat your oven properly and use an oven thermometer to ensure accurate temperature. Reduce the oven temperature if needed, and monitor the bread closely towards the end of the baking process.
Remember, practice makes perfect, and it’s through trial and error that you’ll learn the most about bread-making.
Baking and Beyond
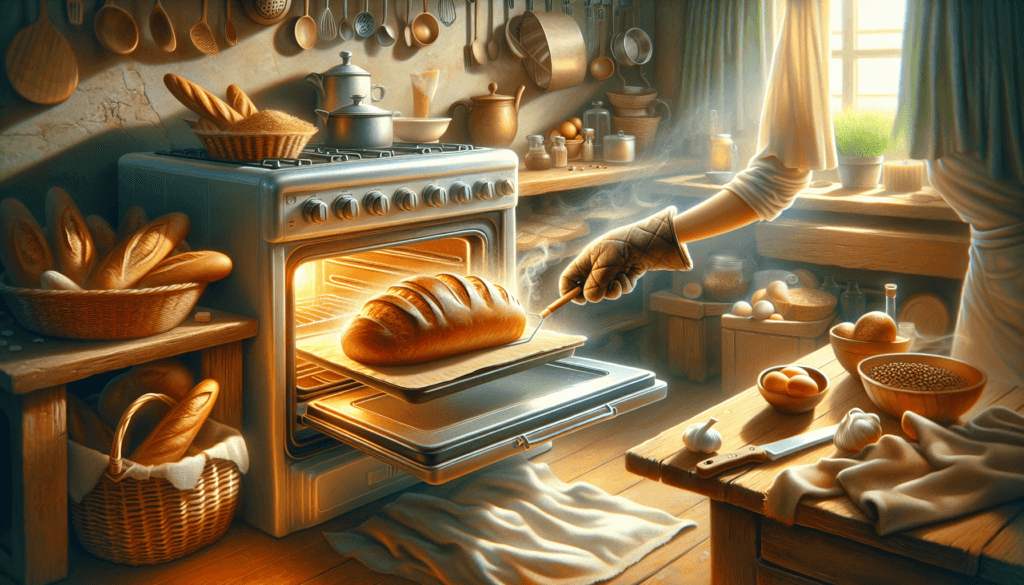
Now that you have mastered the art of bread-making, it’s time to dive into the final stages of the baking process.
Understanding oven settings and temperatures
Getting to know your oven is essential for achieving consistent results. Familiarize yourself with the various settings and temperature ranges. Invest in an oven thermometer to ensure accurate temperature readings.
Properly preheating your oven for best results
Preheating your oven to the correct temperature is crucial to achieving a well-risen loaf and a desirable crust. Most recipes will specify the preheating time required, allowing the dough to continue rising during this period.
Baking techniques to achieve desired crust and texture
To achieve the perfect crust and texture, consider using the following baking techniques:
- **Steam: **Creating steam in the oven during the first few minutes of baking helps produce a crisp and shiny crust. You can achieve this by placing a baking pan filled with water in the oven or by using a spray bottle to mist the loaf with water.
- **Egg wash: **Applying a beaten egg or egg wash to the surface of the dough before baking can result in a glossy and golden crust.
- **Scoring: **Using a sharp knife or a lame, make shallow cuts or patterns on the surface of the dough. This allows the bread to expand and achieve an attractive appearance during baking.
Experiment with different techniques to find the combination that creates your ideal crust and texture.
Testing bread doneness
Determining when your bread is fully baked can be tricky, but a few indicators will help you know it’s ready:
- Tap test: Gently tap the bottom of the loaf – if it sounds hollow, it’s a good sign that the bread is done.
- Internal temperature: Use a digital thermometer to measure the internal temperature of the bread. For most bread, the target temperature is around 190°F to 200°F (88°C to 93°C).
- Color and appearance: The crust should be golden brown, and the bread should have a firm structure with an even crumb.
Don’t be afraid to experiment and adjust baking times and temperatures to achieve the desired results.
Storing and preserving homemade bread
Proper storage is crucial to maintaining the freshness and quality of your homemade bread:
- Cool completely: Allow your bread to cool completely on a wire rack before storing. This prevents condensation from forming inside the bag or container.
- Wrap and seal: Store your bread in an airtight bag or container to prevent it from drying out. Plastic bags provide a good seal, while paper bags help retain crustiness.
- Refrigeration or freezing: If you won’t be consuming the bread within a few days, consider refrigerating or freezing it. Slice the bread before freezing, allowing you to thaw individual slices as needed.
Remember that homemade bread lacks preservatives, so it’s best enjoyed within a few days of baking for optimal freshness and taste.
Experimenting with Flavors and Additions
Once you’ve gained confidence in the basic bread-making techniques, it’s time to get creative and experiment with flavors and additions:
Adding herbs and spices for flavor variations
Enhance the taste of your bread by incorporating herbs and spices into the dough. Rosemary, thyme, cinnamon, and nutmeg are just a few examples of flavors that can take your bread from plain to extraordinary.
Incorporating nuts, seeds, and dried fruits
For added texture and flavor, consider adding nuts, seeds, or dried fruits to your bread dough. Walnuts, sesame seeds, or dried cranberries can create delightful surprises with each bite.
Discovering unique ingredients and their effects on bread
Expand your culinary horizon by experimenting with unique ingredients like cheese, olives, or even chocolate. These unexpected additions can transform an ordinary loaf into a gourmet masterpiece.
Creating your own signature bread recipe
With experience and creativity, you can develop your own signature bread recipe. Combine your favorite flavors, experiment with different flour combinations, and fine-tune your techniques to create a bread that reflects your personal style and taste.
Sharing and Enjoying Your Homemade Bread
Baking bread is not only about the end result but also about sharing and enjoying the fruits of your labor with others. Here are some ideas to celebrate and showcase your homemade bread:
Presenting your bread in an appealing way
Consider the aesthetics when presenting your bread. Brush the crust with melted butter for a glossy appearance, sprinkle some seeds on top, or create an intricate scoring pattern. You can also shape the dough into rolls, buns, or decorative shapes to add visual interest.
Pairing bread with spreads, dips, and accompaniments
Complement the flavors and textures of your bread by pairing it with a variety of spreads, dips, and accompaniments. From butter and jam to artisanal cheeses, explore different combinations to create a delightful experience for your taste buds.
Gift ideas featuring homemade bread
Homemade bread makes a thoughtful and delicious gift. Wrap a freshly baked loaf in a tea towel or parchment paper and tie it with a ribbon. Consider including a handwritten recipe card or a jar of homemade jam to make the gift even more special.
Creating a bread-making routine for regular enjoyment
Making bread can become a regular part of your routine. Set aside a specific day each week or month for bread-making, experiment with new recipes, and enjoy the therapeutic process of kneading dough. Involve your family and friends, and turn bread-making into a shared experience.
Embracing the Art of Bread-Making
Now that you’ve mastered the basics of bread-making, don’t be afraid to take your skills to the next level and explore the world of artisanal bread-making.
Exploring advanced bread-making techniques
Artisanal bread-making offers endless possibilities for creativity and skill-building. Learn techniques like preferment or poolish to enhance flavor and texture. Experiment with long fermentation or cold-proofing methods for even more complex flavors.
Joining baking communities and workshops
Baking communities and workshops are fantastic resources for learning new techniques, getting inspiration, and connecting with fellow bread enthusiasts. Join online forums, attend local classes or workshops, and share your bread-making journey with others.
Taking bread-making to the next level with artisanal approaches
Explore advanced techniques like sourdough starters, long fermentation, or hand shaping to create beautiful and flavorful artisanal bread. These techniques require patience and practice but can result in bread that is truly a work of art.
Conclusion
Congratulate yourself on embarking on this wonderful journey of bread-making. With a little knowledge, skill, and creativity, you can bake homemade bread that will satisfy both your cravings and your desire for culinary artistry. So, gather your ingredients, don your apron, and let the scent of freshly baked bread fill your kitchen. Happy baking!

