Imagine mastering the art of creating that flaky, buttery croissant or the perfectly layered pastry dough. With the right techniques, laminated doughs can be a delightful addition to your culinary repertoire. From croissants and danishes to puff pastry delights, this article will guide you through the process of perfecting laminated doughs. Get ready to elevate your baking skills and impress friends and family with these irresistible treats.
Understanding Laminated Doughs
What are laminated doughs?
Laminated doughs are a type of pastry dough that is made by repeatedly folding butter into a basic dough and then rolling it out. This process creates multiple layers of dough and butter, resulting in a flaky and delicious pastry. The word “laminated” refers to the layers that are formed through the folding and rolling process.
Why is lamination important in pastries?
Lamination is crucial in pastries because it is what gives them their light and airy texture. When the dough is baked, the layers of butter melt and create steam, which causes the pastry to rise and become flaky. Without the lamination technique, pastries would be dense and lacking the delicate layers that we associate with croissants, puff pastry, and other similar treats.
Types of Laminated Doughs
Puff Pastry
Puff pastry is perhaps the most well-known type of laminated dough. It is used in a variety of sweet and savory recipes, including turnovers, Napoleons, and sausage rolls. Puff pastry is made up of hundreds of thin layers that puff up when baked, creating a light and crispy result.
Croissant Dough
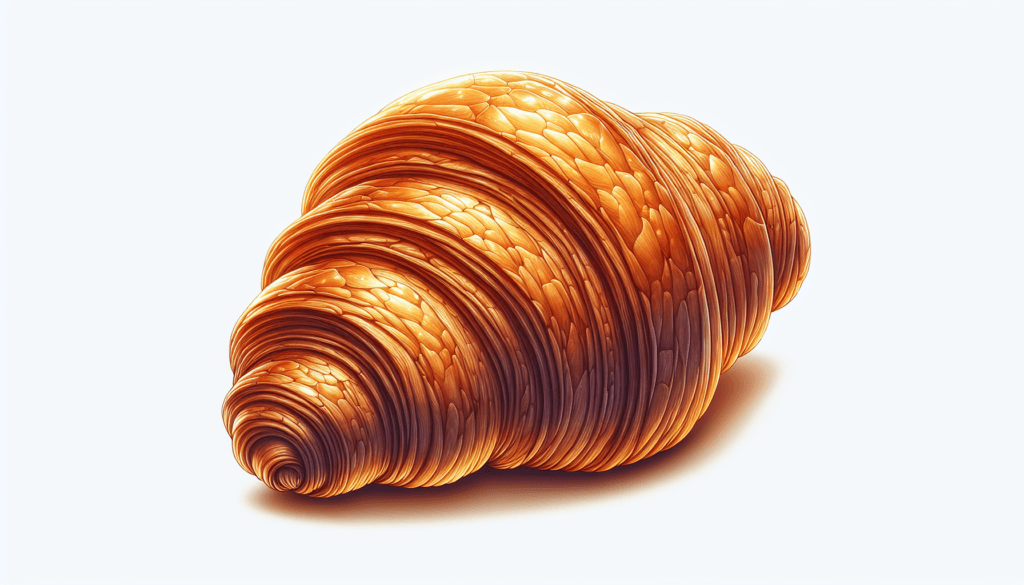
Croissant dough is famous for its crescent shape and buttery taste. It is made with the same lamination technique as puff pastry but usually contains a higher ratio of butter to flour. This extra butter gives croissants their signature rich flavor and tender texture.
Danish Dough
Danish dough is another type of laminated dough that is commonly used in breakfast pastries. It is similar to croissant dough but usually contains additional ingredients such as milk and sugar. Danish pastries are often filled with fruit, custard, or cheese, making them a delicious treat to enjoy with your morning coffee.
Phyllo Dough
Phyllo dough is a thinly rolled dough that is typically used in Mediterranean and Middle Eastern cuisine. It is made by rolling out very thin layers of dough and brushing them with melted butter or oil. When baked, phyllo dough becomes incredibly crispy and is commonly used to make dishes such as baklava and spanakopita.

Preparing the Dough
Gathering the ingredients
Before you can start making your laminated dough, it is essential to gather all your ingredients. You will need flour, water, salt, and sometimes additional ingredients like sugar or milk, depending on the specific recipe you are following. Having your ingredients measured and ready to use will make the dough preparation process much smoother.
Mixing the dough
To make the dough, you will need to combine the dry ingredients (flour, salt) and any additional ingredients in a bowl. Gradually add the water and mix until a cohesive dough forms. Once the dough comes together, knead it gently until it becomes smooth and elastic. Avoid over-kneading, as this can develop too much gluten and result in a tough pastry.
Resting the dough
After mixing the dough, it is crucial to let it rest. This period of rest allows the gluten to relax and prevents the dough from becoming too elastic. Place the dough in a covered bowl or wrap it in plastic wrap and let it rest at room temperature for about 30 minutes to an hour. This resting time will also make the dough easier to roll out and shape later on.
Incorporating Butter
Choosing the right butter
When it comes to laminated doughs, using the right butter is essential. Look for a high-quality butter with a high fat content (around 82-84%). This high fat content ensures that the butter will melt properly during baking, creating those desirable flaky layers. Avoid using margarine or low-fat spreads, as they have a higher water content and will not yield the same results.
Preparing the butter block
To incorporate the butter into the dough, you will need to create a butter block. Start with a block of cold butter and pound it gently with a rolling pin to soften it slightly. Place the softened butter between two sheets of plastic wrap or parchment paper and use a rolling pin to flatten it into a rectangle. The size of the rectangle will depend on the recipe you are following, but aim for a thickness of about 1/2 inch.
Layering the butter into the dough
Once your butter block is prepared, it is time to incorporate it into the dough. Roll out the dough into a rectangle that is slightly larger than your butter block. Place the butter block onto one half of the dough, then fold the other half over the butter, encasing it completely. Press the edges together to seal the butter inside the dough. This step is known as “encasing” the butter.

Folding Techniques
Single-Fold (Turn)
The single-fold, also known as a “turn,” is one of the most basic folding techniques used in laminated doughs. To perform a single-fold, roll out the dough into a long rectangle. Fold one-third of the dough over the center, then fold the other side over the top, creating a neat stack of three layers. This simple fold helps to increase the number of layers in the dough and enhances its flakiness.
Double-Fold (Book Fold)
The double-fold, also called a “book fold,” takes the single-fold technique one step further. Start by performing a single-fold as described above. Then, fold the resulting stack of three layers in half, like closing a book. This double-fold increases the number of layers even more, resulting in an exceptionally flaky pastry.
Tri-Fold (Traditional French Fold)
The tri-fold, also known as the “traditional French fold,” is the most complex folding technique used in laminated doughs. It is typically used for croissant dough. To perform a tri-fold, start with a single-fold as described earlier. Then, roll out the dough into a long rectangle and fold one-third of the dough towards the center. Fold the other side over the top, creating a three-layer stack. Finally, fold the resulting stack in half, again like closing a book. This technique creates even more layers and helps give croissants their distinct shape and texture.
Resting and Chilling
Refrigerating the dough between folds
After each folding technique, it is essential to let the dough rest and chill in the refrigerator. This resting time allows the gluten to relax and prevents the butter from melting too much. Wrap the dough in plastic wrap or place it in a covered bowl, then refrigerate it for at least 30 minutes to an hour between each fold. This chilling time also makes the dough easier to work with and helps maintain its layered structure.
Length of resting time
The length of the resting time between folds can vary depending on the recipe you are following. In general, aim for a minimum of 30 minutes to an hour. However, some recipes may require longer resting times to achieve optimal results. Follow the specific recipe instructions to ensure the dough has enough time to rest and chill properly.
Freezing for future use
If you want to prepare laminated dough in advance or have some leftover from a recipe, you can freeze it for future use. After completing the final fold, tightly wrap the dough in plastic wrap and place it in a freezer-safe bag or container. Laminated dough can be frozen for up to several months. When ready to use, thaw the dough in the refrigerator overnight before proceeding with rolling and shaping.

Rolling and Shaping
Rolling out the dough
Once the dough has gone through several folds and rests, it is ready to be rolled out. Lightly flour your work surface and the dough, then use a rolling pin to shape the dough into your desired thickness and size. Be gentle when rolling to avoid stretching or tearing the dough. If the butter starts to soften too much, place the dough in the refrigerator for a few minutes to firm it up again.
Creating desired shapes
Laminated dough can be shaped into a variety of forms depending on the recipe you are following. From classic croissants to sweet turnovers or savory pockets, the possibilities are endless. Follow the instructions provided in your chosen recipe for shaping the dough properly. Remember to be patient and take your time to ensure you achieve the desired shape and layers in your final product.
Filling options
Laminated doughs offer endless possibilities for fillings. From sweet options like chocolate, fruit compote, or pastry cream to savory choices like ham and cheese or spinach and feta, you can get creative with your fillings. Follow the instructions in your recipe for incorporating fillings, and make sure not to overfill the pastries, as this can cause them to burst during baking.
Baking Laminated Doughs
Preheating the oven
Before baking your laminated dough, it is crucial to preheat your oven to the specified temperature indicated in your recipe. Preheating ensures that the oven reaches the desired temperature before you put your pastries in, ensuring even baking and proper rising of the dough.
Baking temperature and time
The baking temperature and time will vary depending on the recipe you are following and the size and shape of your pastries. In general, laminated doughs bake at a relatively high temperature (around 350-400°F/180-200°C) to encourage rapid and even rising. Follow the instructions in your recipe for the precise baking temperature and time.
Achieving a golden, flaky crust
To achieve a golden and flaky crust when baking laminated doughs, it is crucial to brush the pastries with an egg wash before baking. The egg wash not only helps to achieve that desirable golden color but also adds a glossy finish to the final product. Make an egg wash by whisking together an egg and a small amount of milk or water, then gently brush it over the pastries using a pastry brush.

Troubleshooting Common Issues
Dough not rising
If your laminated dough does not rise properly during baking, several factors could be at play. First, ensure that your yeast is fresh and active, as old or expired yeast may not produce the desired rise. Additionally, check that you followed the folding and resting steps correctly, as improper techniques can result in a dense and flat pastry. Finally, make sure you let the dough proof at the appropriate temperature and for the recommended time to allow the yeast to work its magic.
Butter leaking during baking
Butter can sometimes leak out of the laminated dough during baking, causing a mess and potentially affecting the final texture of the pastry. To prevent this issue, make sure to encase the butter properly during the initial folding step. Additionally, ensure that the dough is rolled out evenly and that the seams are sealed tightly to keep the butter contained. Lastly, avoid overproofing the dough, as excess fermentation can cause the butter to melt and leak.
Uneven layers
If your laminated dough has uneven layers, it could be due to several factors. First, make sure you are rolling out the dough evenly and to the desired thickness throughout the folding process. Additionally, ensure that the folds are performed carefully and accurately, with each layer properly aligned. Take care not to stretch the dough, as this can result in uneven layers. Practice and attention to detail will help you achieve beautiful and consistent layers in your final pastries.
Tips and Tricks
Keeping ingredients and equipment cold
One of the keys to successful laminated doughs is to keep all your ingredients and equipment cold. The cold temperature helps keep the butter solid and prevents it from melting into the dough. Chill your flour, water, and any additional ingredients before using them, and refrigerate your rolling pin and work surface beforehand. This will help maintain the desired flaky and layered texture.
Using a pastry scraper
A pastry scraper is a handy tool when working with laminated doughs. Use it to help lift and move the dough without stretching or tearing it. A pastry scraper is also useful for cleaning up excess flour or dough scraps from your work surface. This versatile tool will make the dough preparation process smoother and more efficient.
Using quality ingredients
Using high-quality ingredients is crucial when making laminated doughs. Opt for a good quality butter with a high fat content, as this will greatly affect the texture and flavor of the final pastry. Additionally, choose fresh and active yeast, as well as top-notch flour. These small considerations will have a significant impact on the outcome of your laminated doughs.
In conclusion, mastering the art of laminated doughs takes practice, patience, and attention to detail. Understanding the different types of laminated doughs, the folding techniques involved, and the importance of resting and chilling are key to achieving flaky and irresistible pastries. By following the steps outlined in this guide and incorporating the tips and tricks provided, you will soon be creating your own delicious croissants, puff pastry delights, and more. So grab your rolling pin, embrace the process, and enjoy the rewarding journey of making laminated doughs!


