Imagine the pleasure of stepping into a bakery, the aroma of freshly baked bread wafting through the air, and the warmth of a perfectly crusty loaf in your hands. Now, imagine being able to recreate that experience in the comfort of your own kitchen. In this article, we will explore the art of baking artisanal breads at home, uncovering the secrets behind achieving that distinctive texture, flavor, and appearance. Whether you’re a seasoned baker or just starting out, get ready to embark on a delicious journey that will elevate your bread-making skills to new heights.
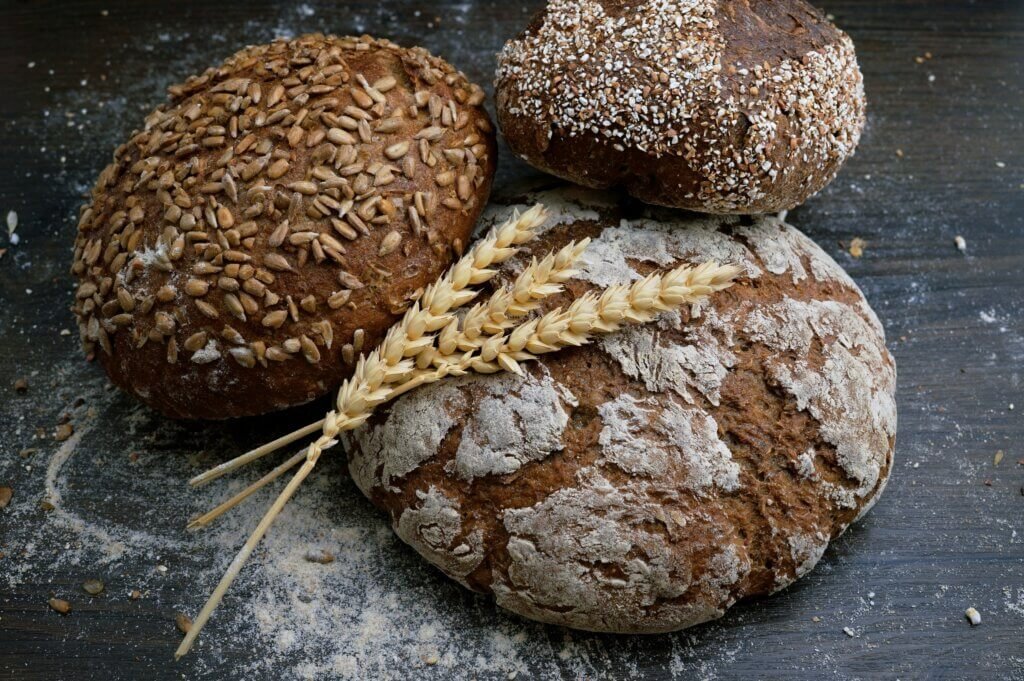
Ingredients for Artisanal Breads
Artisanal breads are known for their unique flavors, textures, and crusts. To achieve these qualities, it is crucial to use the right ingredients. Here are the key ingredients for baking artisanal breads:
Choosing the right flour
The flour you choose plays a significant role in the final product. Opt for high-quality, unbleached flours such as bread flour or all-purpose flour. Bread flour has a higher protein content, resulting in a chewier texture. All-purpose flour can also be used, but it may produce a slightly softer crumb.
Selecting the right yeast
Yeast is responsible for the fermentation process, which gives bread its airy texture and complex flavors. There are different types of yeast available, such as active dry yeast and instant yeast. Active dry yeast requires proofing in warm water before use, while instant yeast can be added directly to the dough. Choose the type that suits your preference and baking style.
Using quality water
Water may seem like a simple ingredient, but its quality can impact the taste and texture of your bread. Use filtered or bottled water to ensure it is free from impurities that may affect the yeast activity. Additionally, the temperature of the water is crucial for yeast activation. It should be warm, around 100°F (37°C), but not too hot to prevent killing the yeast.
Adding the right salt
Salt enhances the flavors of bread and provides structure to the dough. Use fine sea salt or kosher salt rather than table salt, as they have a better flavor profile. The amount of salt needed may vary depending on the recipe, so make sure to follow the instructions accurately.
Adding optional ingredients
While not essential, optional ingredients can add new dimensions to your bread. Consider adding ingredients like herbs, spices, nuts, dried fruits, or even cheese. These additions can elevate the flavors and create a unique bread experience.
Essential Baking Equipment
To bake artisanal breads successfully, you’ll need some essential baking equipment. Here are the tools that will assist you throughout the bread-making process:
Mixing bowls
Invest in a set of mixing bowls in different sizes. These bowls will be used for mixing and fermenting the dough. Choose bowls made of sturdy, food-grade materials, such as stainless steel or glass, to withstand the rigorous bread-making process.
Measuring tools
Accurate measurements are crucial for consistent results. Have a set of measuring cups and spoons to measure flour, water, yeast, salt, and optional ingredients precisely. Additionally, a kitchen scale is helpful for measuring ingredients by weight, which provides even more accuracy.
Bread pans or Dutch oven
Bread pans are essential for shaping and baking traditional loaf-shaped breads. Choose pans made of heavy-duty materials, such as cast iron or ceramic, to ensure even heat distribution. Alternatively, a Dutch oven can be used to create rustic, crusty breads. The Dutch oven traps steam, resulting in a crispy crust and a tender crumb.
Bread scoring tools
Scoring the dough helps control its rise during baking and adds an artistic touch to the bread’s appearance. Use a sharp, serrated knife or a specialized bread scoring tool to create clean and precise cuts on the surface of the dough before baking.
Thermometer
Accurate temperature control is crucial for successful bread baking. Use an instant-read thermometer to measure the temperature of the water and the internal temperature of the bread while baking. This will ensure that your dough ferments properly and your bread is fully cooked inside.
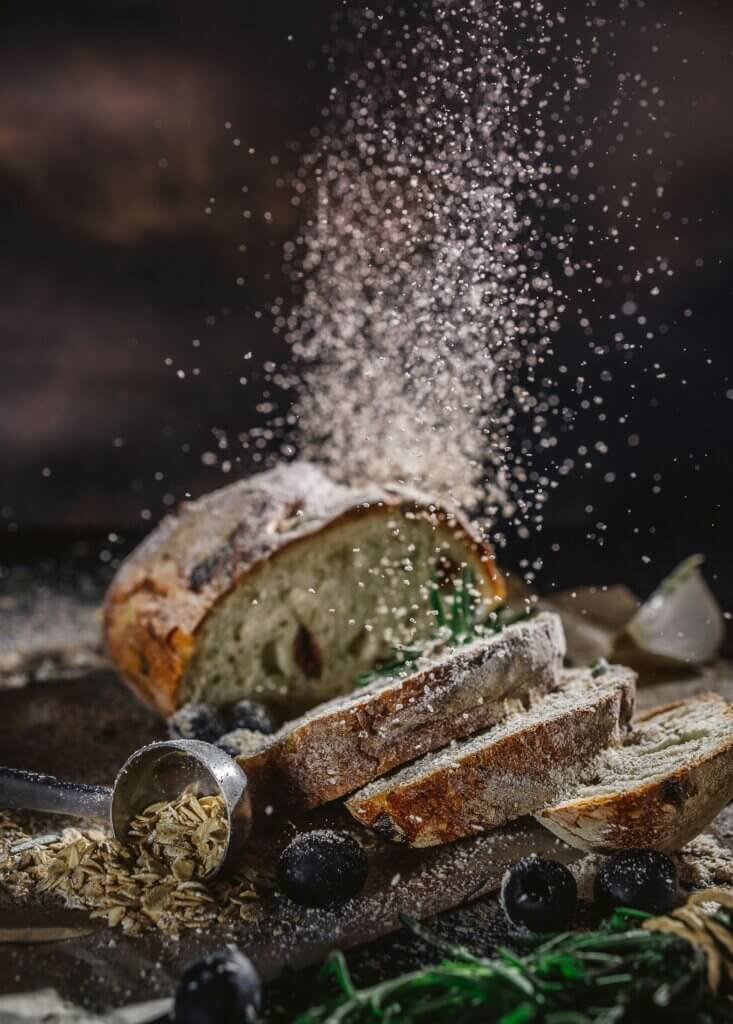
Understanding the Bread-making Process
To become a master of artisanal breads, it’s important to understand the bread-making process from start to finish. Here are the key steps involved in making artisanal bread:
Mixing the dough
In a mixing bowl, combine the flour, water, yeast, and salt. Use your hands or a wooden spoon to mix the ingredients until they come together to form a shaggy dough. Avoid overmixing at this stage, as it may develop excess gluten.
Kneading the dough
Turn the dough out onto a lightly floured surface and start kneading. Kneading involves stretching and folding the dough to develop gluten, which gives bread its structure. Use the heel of your hand to push the dough away from you, then fold it back towards you. Repeat this motion for about 10-15 minutes until the dough becomes smooth and elastic.
Fermenting the dough
Once the dough is kneaded, place it back into the mixing bowl and cover it with a clean kitchen towel or plastic wrap. Allow the dough to ferment at room temperature for several hours or overnight. During fermentation, the yeast consumes the sugars in the dough, producing carbon dioxide, which causes the dough to rise and develop flavor.
Shaping the dough
After fermentation, gently deflate the dough by pressing it with your fingertips. Turn it out onto a lightly floured surface and shape it into the desired form, such as a round boule or a baguette. Take care not to overwork the dough during shaping, as this can deflate the air pockets that have developed.
Proofing the dough
Place the shaped dough onto a baking sheet or a proofing basket lined with a clean kitchen towel. Cover the dough and let it rise again, known as the proofing stage. The duration of proofing may vary depending on the recipe, but it generally takes 1-2 hours. The dough should visibly rise and become puffy during this time.
Artisan Bread Recipes
Now that you understand the bread-making process, it’s time to explore some popular artisan bread recipes. Here are a few recipes to get you started:
Classic French baguette
The classic French baguette is a staple in artisan bread baking. It features a crispy crust and a light, tender crumb. The recipe typically calls for flour, water, yeast, and salt. The dough is shaped into a long, narrow loaf and scored before baking to achieve the signature appearance.
Sourdough boule
Sourdough bread is known for its complex flavors and chewy texture. The recipe requires a sourdough starter, which is a fermented mixture of flour and water. The dough is made with flour, water, salt, and the sourdough starter. It is shaped into a round boule and scored before baking.
Whole wheat country loaf
For a healthier option, consider baking a whole wheat country loaf. This recipe uses a combination of whole wheat flour and bread flour for a nutty flavor and hearty texture. The dough is mixed, kneaded, fermented, shaped, and proofed before baking. It yields a flavorful bread that pairs well with soups and salads.
Cinnamon raisin swirl bread
If you’re in the mood for a sweet treat, try baking a cinnamon raisin swirl bread. This bread is enriched with butter, milk, sugar, and eggs, in addition to the basic bread ingredients. The dough is rolled out and sprinkled with a cinnamon-sugar mixture and raisins before being rolled back into a log shape. It is then placed in a bread pan and baked to perfection.
Olive and rosemary focaccia
Focaccia is a flavorful, Italian flatbread that is perfect for sharing. This recipe incorporates olives and rosemary into the dough, giving it a delightful aroma and savory taste. The dough is mixed, fermented, and spread onto a baking pan. It is then topped with olives, rosemary, and a sprinkling of coarse sea salt before baking.
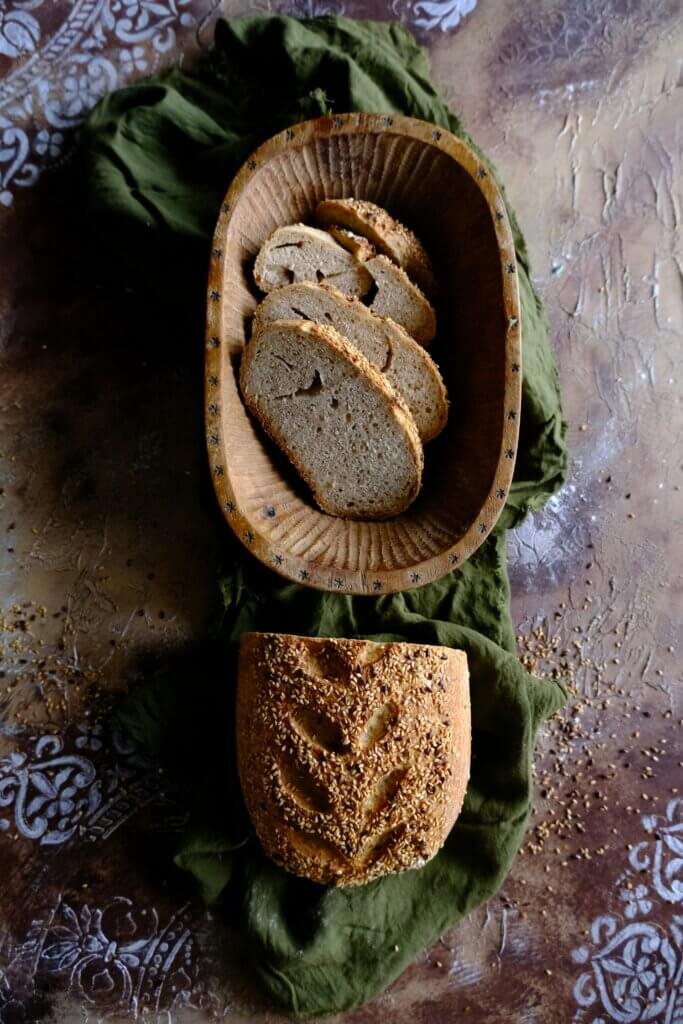
Mastering the Techniques
To truly excel at baking artisanal bread, it’s important to master a few key techniques. Here are some techniques that will elevate your bread-making skills:
Developing gluten
Gluten development is crucial for achieving the desired texture in bread. It is done through the process of kneading, which involves stretching and folding the dough. Learn to recognize the signs of proper gluten development, such as a smooth and elastic dough that holds its shape when stretched.
Autolyse method
The autolyse method involves allowing the flour and water to hydrate and rest before adding the remaining ingredients. This technique improves gluten formation and enhances the bread’s flavor and texture. Mix the flour and water together and let them rest for about 30 minutes before incorporating the yeast, salt, and optional ingredients.
Stretch and fold technique
The stretch and fold technique is an alternative to continuous kneading and helps further develop gluten. After the initial mixing, perform a series of stretch and fold motions every 30 minutes during the fermentation process. This technique helps strengthen the dough and improves its structure.
Pre-shaping and final shaping
Proper shaping ensures that the bread bakes evenly and achieves an appealing appearance. Pre-shaping involves gently forming the dough into a round or oblong shape, while final shaping creates the desired loaf shape. Take care not to deflate the dough during shaping and ensure the surface is smooth for scoring.
Scoring the dough
Scoring involves making cuts on the surface of the dough before baking. It allows the dough to expand and prevents it from bursting unevenly during baking. Use a sharp knife or a specialized bread scoring tool to make clean, decisive cuts. Experiment with different scoring patterns to add a decorative element to your bread.
Baking Artisanal Breads in Different Ovens
Artisanal bread can be baked in various types of ovens, each offering its unique benefits. Here are some common methods for baking artisanal bread:
Conventional oven
A conventional oven is the most accessible option for home bakers. Preheat the oven to the recommended temperature and bake the bread on a baking sheet or a preheated baking stone. To achieve a crusty exterior, place a tray of water on the bottom rack to create steam.
Steam oven
Steam ovens are designed specifically for bread baking and offer precise control over steam levels. These ovens inject steam into the baking chamber, resulting in a perfect crust and moist interior. Follow the manufacturer’s instructions for using a steam oven effectively.
Wood-fired oven
Wood-fired ovens are traditionally used for baking artisan breads. These ovens reach high temperatures quickly and impart a unique smoky flavor to the bread. It requires skill and practice to manage the fire and heat distribution, but the results are worth it.
Dutch oven method
The Dutch oven method recreates the steamy environment of a professional bakery oven. Place the dough in a preheated Dutch oven with the lid on. The trapped steam keeps the dough moist, resulting in a crusty exterior and a tender crumb.
Baking stone method
A baking stone is an excellent tool for achieving a crispy crust. Preheat the stone in the oven and transfer the dough onto the hot stone using a peel or a parchment paper. The hot stone provides consistent heat and helps absorb excess moisture from the dough.
Troubleshooting Common Bread-baking Issues
Even experienced bakers may encounter issues when making artisanal bread. Here are some common problems and their solutions:
Dense loaf
A dense loaf may be a result of insufficient gluten development or overproofed dough. Ensure proper kneading and fermentation times and avoid overworking the dough. Additionally, check the yeast freshness and proofing temperature to ensure proper fermentation.
Overproofed dough
Overproofed dough may result in a collapsed loaf with a gummy texture. If the dough has risen for too long during fermentation, it may have exhausted the available sugars for the yeast to feed on. Reduce the proofing time or adjust the fermenting temperature to prevent overproofing.
Bread collapsing during baking
Bread collapsing can occur due to improper shaping, excessive proofing, or inadequate oven spring. Pay careful attention to shaping techniques to create a well-structured loaf. Avoid overproofing, as it can weaken the structure of the dough. Additionally, ensure the oven is adequately preheated to provide a burst of hot air for oven spring.
Bread sticking to the pan
If the bread sticks to the pan, it may be due to insufficient greasing or using the wrong type of pan. Generously grease the pan with butter, oil, or cooking spray before placing the dough. Consider using non-stick pans or lining them with parchment paper to prevent sticking.
Uneven browning
Uneven browning can occur if the bread is placed too close to the heat source or if the oven temperature is unstable. Adjust the oven rack position to ensure even heat distribution. Consider rotating the bread or using a baking stone or baking sheet to achieve consistent browning.
Enhancing Flavors and Textures
To take your artisanal breads to the next level, consider incorporating these techniques and ingredients:
Using pre-ferments
Pre-ferments, such as poolish or biga, are mixtures of flour, water, and yeast that are fermented before incorporating them into the final dough. This technique enhances flavor and adds complexity to the bread. Include a portion of the pre-ferment in your recipe and adjust the flour and water accordingly.
Incorporating herbs and spices
Herbs and spices can add a burst of flavor to your breads. Consider adding ingredients like rosemary, thyme, garlic, or cinnamon to the dough. Mix them into the dough during the initial mixing stage or incorporate them during the shaping phase.
Adding seeds and grains
Seeds and grains add texture and visual interest to breads. Consider adding ingredients like sesame seeds, poppy seeds, flaxseeds, or rolled oats. Mix them into the dough or sprinkle them on top before baking.
Creating a crusty exterior
To achieve a crusty exterior, you can modify your baking method or incorporate ingredients that promote crust development. Steam is essential for crust formation, so make sure to create a steamy environment by using methods like the Dutch oven or placing a tray of water in the oven. Additionally, a higher oven temperature during the initial baking stage can contribute to a crispier crust.
Achieving a soft and chewy crumb
For a soft and chewy crumb, consider adjusting the hydration level of your dough. A slightly higher hydration, indicated by a wetter dough, can result in a softer crumb. Additionally, using fats like butter or olive oil can contribute to a softer texture.

Creative Bread Presentation and Decoration
Artisanal breads offer the opportunity to create stunning presentations. Here are some creative ways to enhance the appearance of your bread:
Bread scoring designs
Scoring your bread in various designs can add an artistic touch. Experiment with simple patterns like tic-tac-toe or more intricate designs like wheat stalks or flowers. A well-executed score not only adds visual appeal but also helps control the dough’s expansion during baking.
Glazes and washes
Glazes and washes can add shine and color to your breads. Egg washes, milk washes, or honey glazes can be brushed onto the dough before baking. They can also act as an adhesive for adding additional toppings like seeds or herbs.
Artistic toppings
Sprinkle your breads with artistic combinations of seeds, herbs, or edible flowers. Sunflower seeds, pumpkin seeds, lavender, or fresh rosemary can add a beautiful decorative element. These toppings not only enhance the appearance but also provide added flavor and texture.
Seed and herb decoration
Arrange seeds and herbs in a decorative pattern on top of the dough before baking. This technique adds visual interest and allows you to showcase the key ingredients in your bread. Consider creating patterns or arranging the toppings to form letters or shapes.
Bread braiding and shaping
Experiment with braiding or shaping techniques to create visually stunning breads. Braided breads, such as challah or babka, feature intricate patterns that add an elegant touch to your table. Alternatively, experiment with free-form shapes, such as leaves or animals, to make your bread truly unique.
Storing and Enjoying Artisanal Bread
To fully enjoy your freshly baked artisanal bread, it’s important to store it properly and pair it with complementary spreads. Here are some tips for storing and enjoying your bread:
Proper storage techniques
Artisanal bread is best enjoyed fresh, but it can be stored to maintain its quality. Once fully cooled, store the bread in a paper bag or a bread box to allow for air circulation, which helps retain the crustiness. Avoid storing bread in plastic bags, as they can trap moisture and result in a soft, soggy crust.
Reheating methods
To reheat your bread while preserving its texture, place it in a preheated oven at 350°F (175°C) for a few minutes until warm. Alternatively, you can slice the bread and lightly toast it to revive its crustiness. Avoid microwaving the bread, as it can make it chewy or rubbery.
Freezing and defrosting
If you have excess bread or want to enjoy it at a later time, freezing is an excellent option. Slice the bread and store it in a freezer-safe bag or wrap it tightly in plastic wrap and aluminum foil. To defrost, take the bread out of the freezer and allow it to come to room temperature. For a quick thaw, toast the frozen slices or warm them in the oven.
Pairing with different spreads
Artisanal bread pairs well with a wide range of spreads and toppings. Classic choices include butter, extra virgin olive oil, or a premium jam. Experiment with savory spreads like hummus, tapenade, or goat cheese for a delightful twist. The flavor combinations are endless, so let your creativity guide your choices.
Creating gourmet sandwiches
Artisanal bread serves as the perfect foundation for delicious gourmet sandwiches. Fill your bread with high-quality ingredients like roasted meats, fresh vegetables, cheeses, and spreads. The crusty exterior and soft crumb of the bread will elevate the flavors and textures of your sandwiches.
With this comprehensive guide, you are well on your way to becoming a master of baking artisanal breads at home. Explore the ingredients, techniques, and recipes to create bread that is not only delicious but also a work of art. Enjoy the process and the satisfaction of creating your own bakery-quality bread in the comfort of your own kitchen. Happy baking!

