If you’ve ever wondered how to master the delicate balance of creating the perfect pie, look no further. “The Art Of Baking Pies: From Fruit Fillings To Flaky Crusts” is your ultimate guide to achieving pie-making bliss. Bursting with tips and techniques, this article will take you on a delectable journey through the world of pie baking. From selecting the freshest fruits for irresistible fillings to mastering the art of creating a flaky, golden crust, prepare to uncover the secrets behind creating a slice of heaven on a plate. So grab your apron and get ready to dive into the artistry of baking pies that are sure to wow your friends and family.
Choosing the Right Fruits
When it comes to baking pies, choosing the right fruits is essential to creating a delicious and flavorful dessert. The freshness and quality of the fruits can make all the difference in the final result. Look for fruits that are ripe but not overripe, as overly ripe fruits can become mushy and affect the texture of the pie.
Quality of Fresh Fruits
Opting for fresh fruits is always a great choice when baking a pie. Fresh fruits not only provide a vibrant taste but also add a natural sweetness to the filling. Be sure to select fruits that are firm, fragrant, and free from any bruises or blemishes. Whether you go for apples, cherries, or lemons, choose the freshest fruits available to ensure the best flavor.
Seasonal Selection
Choosing fruits that are in season is an excellent way to enhance the taste of your pie. Seasonal fruits are at their peak freshness and flavor, making them perfect for baking. During the summer months, you can enjoy the juiciness of berries and stone fruits like peaches and plums. In the fall, apples and pears are abundant and lend themselves well to pie fillings. Explore what fruits are in season in your region and experiment with different combinations to discover new and exciting flavors.
Canned or Frozen Options
If fresh fruits are not readily available or you prefer the convenience, canned or frozen fruits can also be used for pie fillings. Canned fruits are preserved at their peak ripeness and can provide a burst of flavor even when out of season. Frozen fruits, on the other hand, are often picked and frozen when they are at their freshest, locking in nutrients and flavors. These options can be a great alternative when fresh fruits are not accessible, allowing you to enjoy a delicious pie all year round.
Preparing the Fruit Fillings
Preparing the fruit fillings is a crucial step in creating a mouthwatering pie. Properly washing, peeling, slicing, and adding sweeteners and flavorings will ensure that your fruit filling is both flavorful and appealing.
Washing and Peeling the Fruits
Before using the fruits, it’s important to wash them thoroughly to remove any dirt or pesticides. Gently scrub the fruits under cool running water and pat them dry. Some fruits, like apples and peaches, may need to be peeled before using them in your pie. Use a sharp knife or a peeler to remove the skin, being careful to remove only the outer layer and not too much of the fruit.
Slicing or Dicing the Fruits
Once your fruits are cleaned and peeled, it’s time to slice or dice them according to your preference. For apple pies, thinly sliced apples work well, while cherries can be pitted and left whole or halved. You can also dice fruits like peaches and berries for a different texture. Consider the size and shape of your fruits when slicing or dicing, ensuring they will cook evenly and fit well in your pie.
Adding Sweeteners and Flavorings
To enhance the natural sweetness of the fruits, you can add sweeteners like sugar, honey, or maple syrup to the pie filling. The amount of sweetener will depend on the tartness of the fruits and your personal taste preference. Additionally, flavorings such as cinnamon, vanilla extract, or citrus zest can add a delightful extra touch to your pie filling. Experiment with different combinations to find the perfect balance of sweetness and flavor.

Creating a Flaky Pie Crust
The pie crust is an integral part of any pie, providing a buttery and flaky base for the delicious fruit filling. Mastering the art of creating the perfect crust requires attention to detail and the right techniques.
Ingredients for the Perfect Crust
To create a flaky pie crust, you’ll need a few simple yet essential ingredients. Flour, butter, salt, and water are the basic components of a traditional pie crust. Cold butter is key to achieving the desired flakiness, so be sure to use butter straight from the fridge. It’s also important to use ice-cold water to prevent the butter from melting and creating a dense crust.
Mixing and Handling the Dough
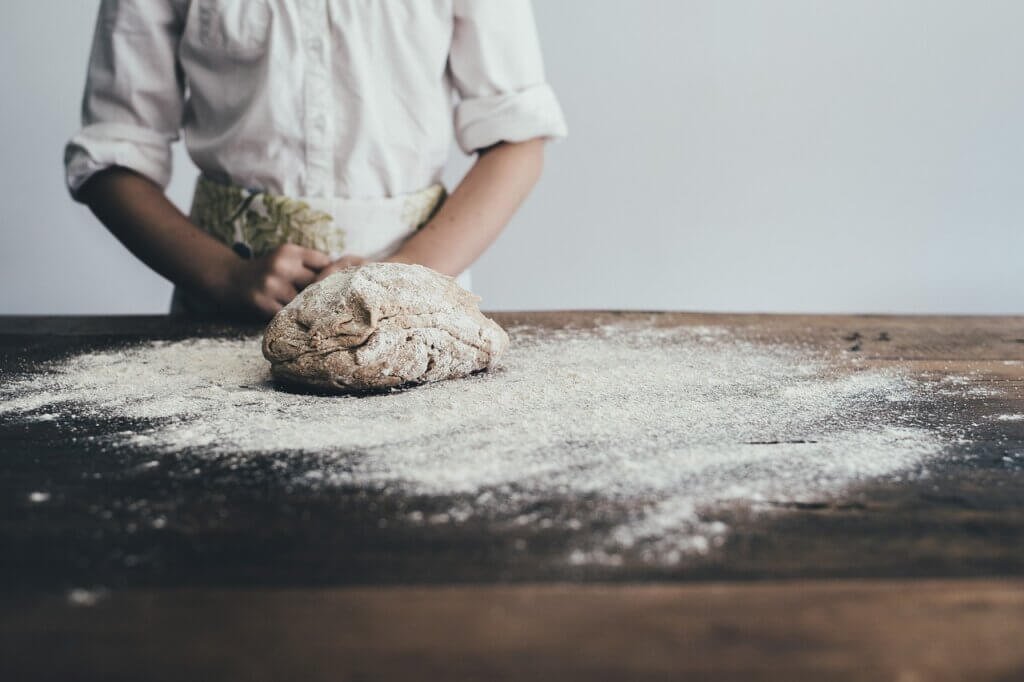
Mixing the dough for your pie crust requires a gentle touch to avoid overworking the gluten in the flour, which can result in a tough crust. Start by combining the flour and salt in a mixing bowl, then cutting in the cold butter until it resembles coarse crumbs. Gradually incorporate the ice-cold water, mixing just until the dough comes together.
Once the dough has formed, avoid excessive kneading or rolling. Overworking the dough can cause the gluten to develop, leading to a denser crust. Form the dough into a disc, wrap it in plastic wrap, and refrigerate for at least 30 minutes before rolling it out.
Rolling and Shaping the Crust
When it’s time to roll out the pie crust, lightly flour your work surface to prevent sticking. Roll the dough out in a circular shape, turning it a quarter-turn after each roll to maintain an even thickness. The size of the crust will depend on the size of your pie dish, so aim for a diameter slightly larger than your pie pan.
Once rolled out, carefully transfer the dough to the pie dish and gently press it against the bottom and sides, making sure there are no air pockets. Trim any excess dough, leaving a small overhang for crimping the edges. The pie crust is now ready for blind baking or adding the fruit filling.
Blind Baking the Crust
Blind baking the crust is a technique used to ensure that the bottom stays crisp and flaky, especially when using juicy fruit fillings. By partially or fully baking the crust before adding the filling, you can prevent a soggy bottom and achieve a perfectly cooked pie.
Why Blind Bake?
Blind baking is especially necessary when the fruit filling is very wet or cooks faster than the crust. By baking the crust first, it creates a barrier that prevents the liquid from seeping into the crust, resulting in a soggy or undercooked bottom. Blind baking also helps to set the crust and ensure it remains crisp throughout the baking process.
Preventing a Soggy Bottom
To prevent a soggy bottom, it’s crucial to blind bake the crust properly. Start by preheating your oven to the specified temperature for the recipe. Line the pie crust with parchment paper or aluminum foil, then fill it with pie weights or dried beans. The weights will help hold the crust’s shape and prevent it from puffing up during baking.
Methods for Blind Baking
There are a few different methods you can use for blind baking a crust. One method is to fully bake the crust before adding the filling. To do this, after lining the crust with parchment paper and weights, bake it in the preheated oven for a specified amount of time or until it turns golden brown.
Another method is to partially bake the crust. In this method, the crust is baked for a shorter time, then the weights and parchment paper are removed, and the crust is returned to the oven to finish baking until golden brown. This method is often used when the pie filling also requires baking.
Choose the blind baking method that best suits your specific pie recipe, ensuring a crispy and well-cooked pie crust.
Traditional Pie Fillings
When it comes to traditional pie fillings, there are a few classic flavors that have stood the test of time. Indulge in the timeless favorites like apple, cherry, and lemon meringue pies, and discover the joy of these mouthwatering treats.
Classic Apple Pie
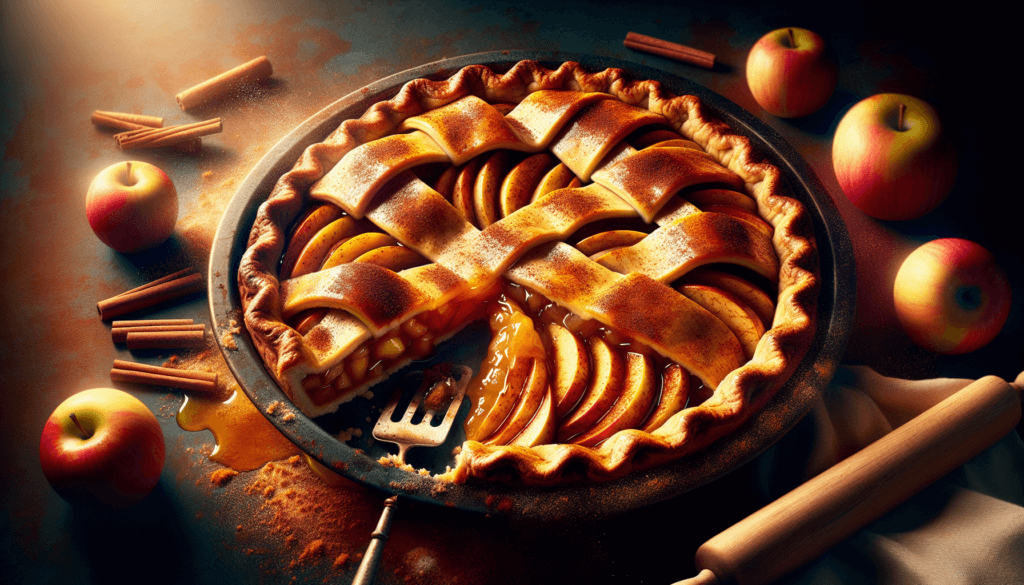
Apple pie is an iconic dessert loved by many. Slices of tart apples are combined with sugar, cinnamon, and sometimes a hint of nutmeg. The filling is then poured into a flaky pie crust and baked to perfection. The warmth of the spices and the tender apples create a comforting flavor profile that is hard to resist.
Delicious Cherry Pie
Cherry pie is a delightful treat, especially when made with plump, juicy cherries. The sweet and tangy filling pairs perfectly with a buttery crust. Whether using fresh or canned cherries, this classic pie is sure to satisfy your sweet cravings. For an added touch, consider adding a hint of almond extract to enhance the cherry flavor.
Tangy Lemon Meringue
Lemon meringue pie is a zesty and refreshing dessert that balances tangy lemon filling with sweet and fluffy meringue. The smooth and velvety lemon curd is poured into a pre-baked pie crust, then topped with a cloud-like meringue made from whipped egg whites and sugar. The pie is then baked until the meringue turns golden brown, creating a beautiful contrast of flavors and textures.
Creative Pie Fillings
While traditional pie fillings are undeniably delightful, why not venture into the world of creative and innovative flavors? Step outside the box and try unique combinations like decadent chocolate ganache, refreshing mixed berry, or creamy banana cream.
Decadent Chocolate Ganache
Indulge your sweet tooth with a luscious chocolate ganache pie filling. Made from a silky blend of chocolate and cream, this rich filling is perfect for chocolate lovers. Pour the ganache into a baked pie crust and let it set. Top it off with whipped cream or a dusting of cocoa powder for an extra touch of elegance.
Refreshing Mixed Berry
For a burst of vibrant colors and flavors, opt for a mixed berry pie filling. Combining strawberries, blueberries, raspberries, and blackberries creates a medley of sweet and tart flavors that is sure to impress. The colorful filling can be accompanied by a lattice crust or a crumb topping for added texture and visual appeal.
Creamy Banana Cream
For a truly indulgent experience, try a creamy banana cream pie filling. A smooth and velvety custard made from fresh bananas, cream, and vanilla is poured into a pre-baked pie crust. Top it off with a layer of freshly whipped cream and sliced bananas for a classic and irresistible dessert. The combination of the silky custard and the flaky crust is simply divine.

Perfecting the Pie Assembly
Now that you have prepared your fruit filling and crust, it’s time to bring it all together and assemble your pie. Pay attention to the details for a beautiful and delicious final product.
Adding the Fruit Filling
Start by adding your prepared fruit filling to the pie crust, ensuring it is evenly distributed. Use a spoon to arrange the fruit slices or pieces in an attractive pattern, creating a visually appealing pie. Be careful not to overfill the pie, as the fruit filling may bubble over during baking.
Latticework or Top Crust?
At this point, you have a choice: to create a lattice crust or to cover the pie with a top crust. Latticework adds a decorative touch and allows the fruit filling to peek through, while a top crust offers a more traditional and complete look. Both options can be equally delicious, so choose the style that suits your preferences and baking skills.
Crimping and Sealing the Edges
To seal the pie and ensure a secure crust, you’ll need to crimp the edges. Gently press the top and bottom crusts together, then use your fingers or a fork to create a decorative edge. Crimping not only seals the pie but also adds a beautiful finishing touch. Take your time and be intentional with your crimping, as it can truly elevate the appearance of your pie.
Tips for Baking the Perfect Pie
Baking a pie to perfection requires a few additional tips and tricks to achieve an even bake, prevent overbrowning, and protect the edges. Follow these tips to ensure your pie comes out of the oven looking and tasting incredible.
Achieving Even Baking
To achieve even baking, it’s essential to preheat your oven to the specified temperature before placing the pie inside. This ensures that the crust starts cooking immediately and prevents the filling from becoming too hot before the crust begins to brown. Additionally, rotating the pie halfway through the baking time can help promote even browning.
Preventing Overbrowning
To prevent the crust from overbrowning while the filling cooks, it’s a good idea to cover the edges of the pie with a pie shield or aluminum foil. The shield will protect the crust from excessive heat, allowing it to bake evenly without burning or turning too dark. Remove the shield during the last few minutes of baking to let the edges crisp up and achieve that beautiful golden color.
Using a Pie Shield
A pie shield can be made from aluminum foil or purchased as a specialized kitchen tool. It is placed over the edges of the pie to protect them from direct heat, preventing them from becoming too dark or burnt. A pie shield is particularly useful for pies that require a longer baking time, ensuring that the edges remain crispy and delicious.
Decorating and Serving Your Pie
Once your pie has been baked to perfection, it’s time for the final touches – whipping up some fresh cream, creating creative crust designs, and serving it in the most delightful way.
Whipped Cream and Other Toppings
Nothing complements a slice of pie quite like a dollop of freshly whipped cream. Whip up some heavy cream with a touch of sugar and vanilla extract until it forms soft peaks. Pile it high onto each slice of pie just before serving for a luscious and creamy addition. Other toppings like ice cream, caramel sauce, or fruit coulis can also be used to enhance the flavor and presentation.
Creative Crust Designs
If you want to take your pie to the next level, consider getting creative with the crust design. Use cookie cutters or shape the dough by hand to create intricate patterns or decorative shapes. Crimp the edges in a unique way or experiment with braided strips of dough for an eye-catching crust. The possibilities are endless, so let your creativity shine and impress your guests with a visually stunning pie.
Serving Suggestions
When it comes to serving your pie, presentation is key. Serve each slice on a dessert plate with a small scoop of ice cream or a drizzle of sauce. Adding a sprig of fresh mint or a dusting of powdered sugar can instantly elevate the visual appeal. For a more casual gathering, serve the pie warm with a simple scoop of vanilla ice cream in a bowl. No matter how you choose to serve it, your homemade pie is sure to be a crowd-pleaser.
Troubleshooting Common Pie Issues
Even with careful preparation and execution, sometimes things don’t go as planned. If you encounter any of these common pie issues, don’t worry, there are simple solutions to help you troubleshoot and fix them.
Soggy Crust
A soggy crust is a common problem that can occur when the filling releases too much liquid during baking. To prevent this, make sure to properly blind bake the crust before adding the filling. Additionally, sprinkling a layer of breadcrumbs, crushed nuts, or graham cracker crumbs on the bottom of the pie crust can absorb excess liquid and help keep the crust crisp.
Runny Fillings
If your pie filling turns out too runny, it may be due to using overly ripe or watery fruits. To fix this, try using a thickening agent such as cornstarch or tapioca flour in the filling. These ingredients will help absorb excess liquid and thicken the filling as the pie bakes. Always follow the recipe instructions for the recommended amount of thickener, as using too much can result in a gel-like consistency.
Cracked or Shrunken Crust
Cracked or shrunken crust can be caused by several factors, including overworking the dough, insufficient chilling time, or uneven rolling. To prevent this, make sure to handle the dough gently and avoid excessive kneading or rolling. Allow the dough to chill in the refrigerator for the recommended time to relax and firm up before rolling it out. When rolling the dough, apply gentle and even pressure to ensure an even thickness and prevent cracking or shrinking.
By following these tips and techniques, you can become a master of pie baking. From choosing the right fruits to perfecting the crust and filling, each step contributes to the creation of a delectable dessert. So gather your ingredients, unleash your creativity, and get ready to embark on a delightful pie-baking adventure. Whether you indulge in a classic apple pie or experiment with unique flavors, the art of baking pies is sure to bring joy to both the baker and those lucky enough to enjoy the final masterpiece. Happy baking!

